A Detailed Working Guide to Backup or Migrate G Suite Mails, Contacts, Calendars, Drive and Other Items
-
Table of Content
- Software Working Process
- Activation Guide
- Installation & Uninstallation
- User Interface
Software Working Process
Software Working Process
Following are the simple steps that help you to back up, migrate and download Google Workspace Data:-
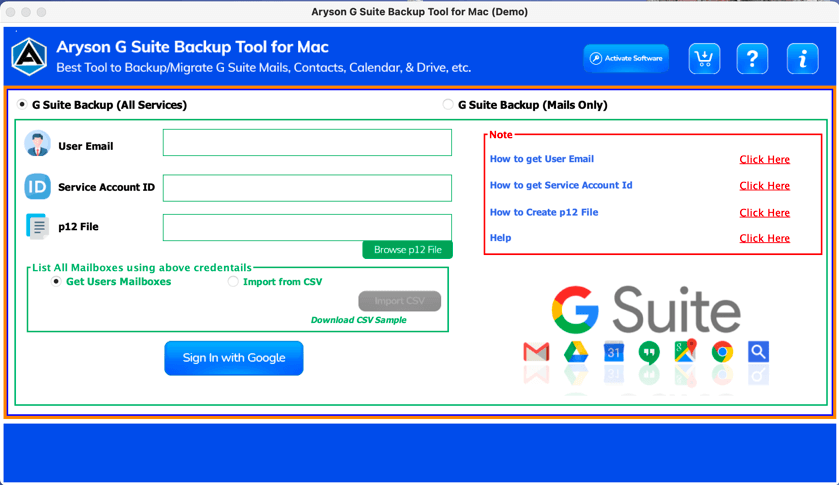
Step 1: Download, Install, and Run G Suite Backup Software as administrator on your system.
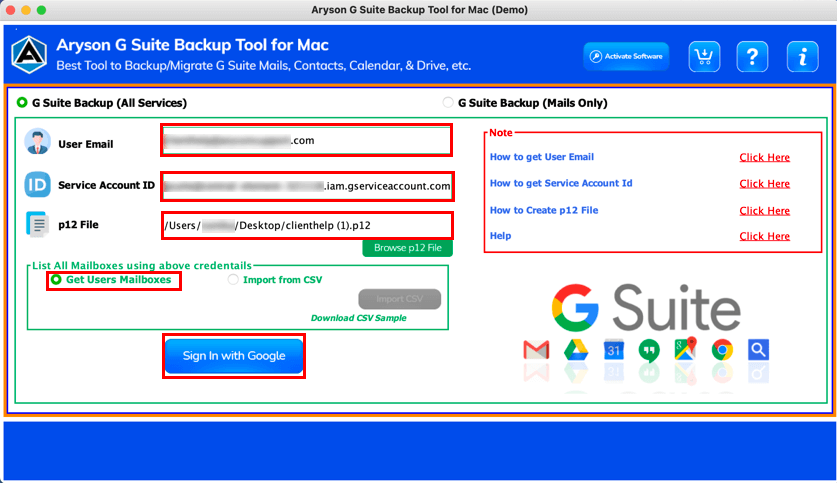
Step 2: Enter your G Suite Username and Service Account ID, add p12 File, choose the Mailboxes, and click on the Sign In with Google.
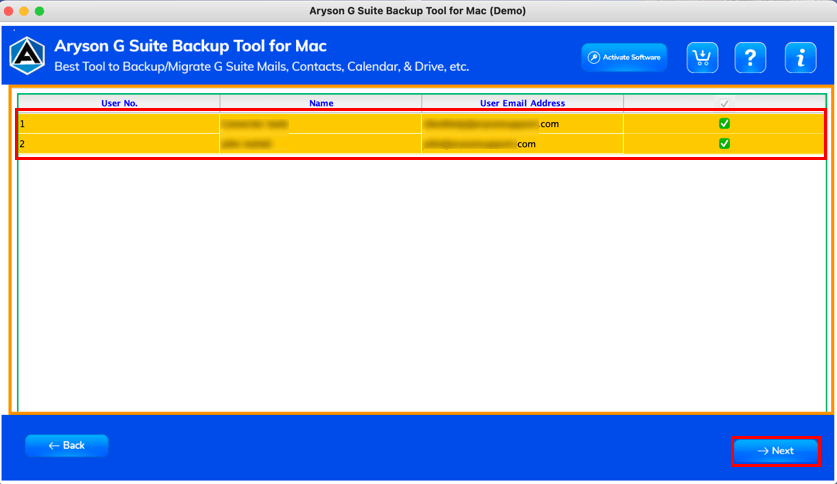
Step 3:Select the sub-user account configured with G Suite and click Next.
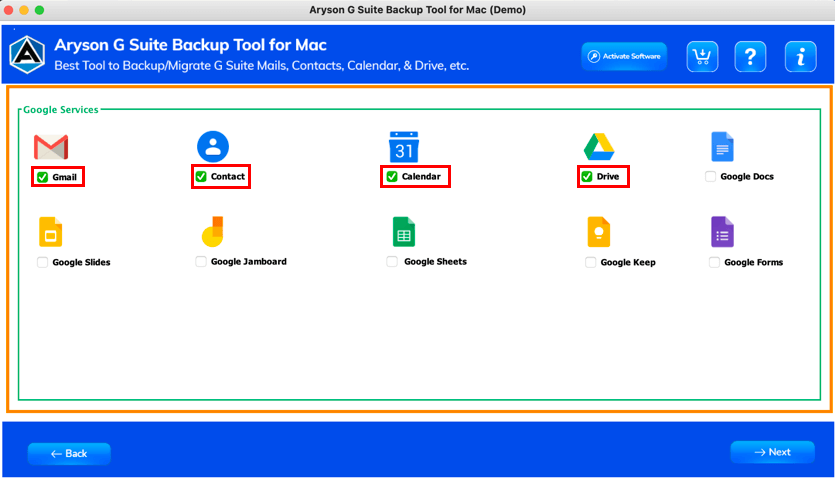
Step 4: Select Gmail from the list of all Google Services and tap Next.
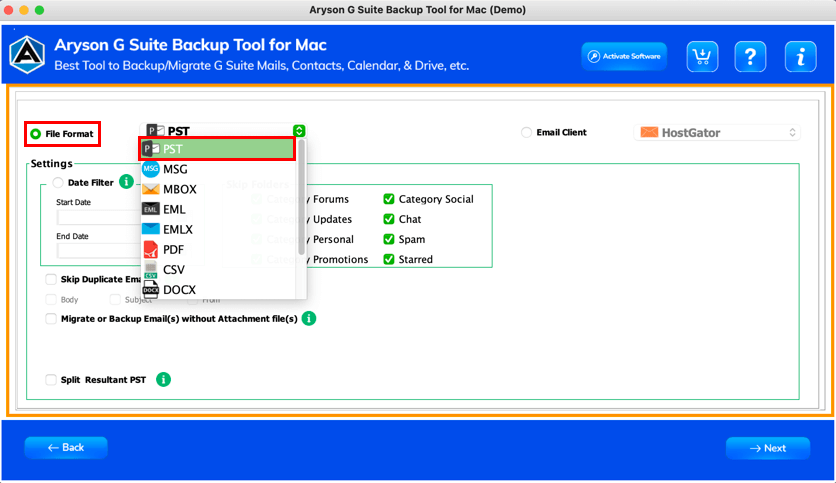
Step 5: Choose the file format as PST from the drop-down list.
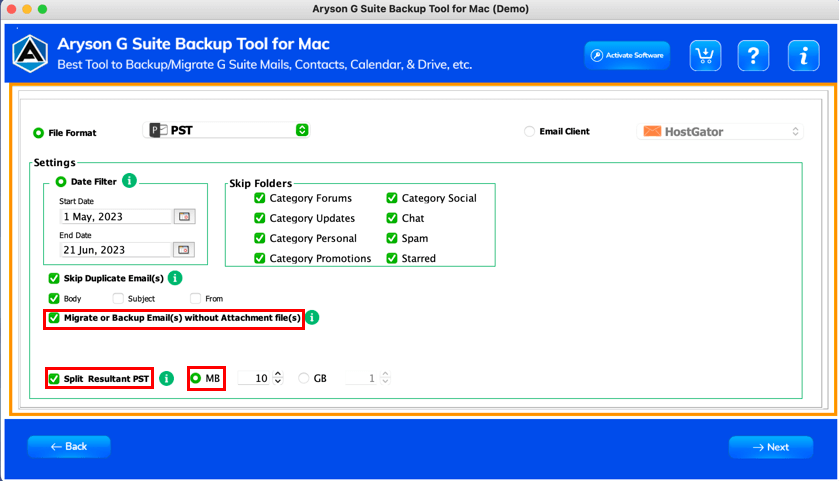
Step 6: Check these options:-
- Date Filter:- It allows you to perform the selective backup of G Suite Mailboxes.
- Skip Duplicate Emails:- It offers a feature to exclude similar emails from the folders selected.

Step 7: Tick these features:-
- Migrate or Backup Emails Without Attachments Files:- It allows you to exclude the attachments from email messages.
- Split Resultant PST:- This option can break the resultant PST file based on size.
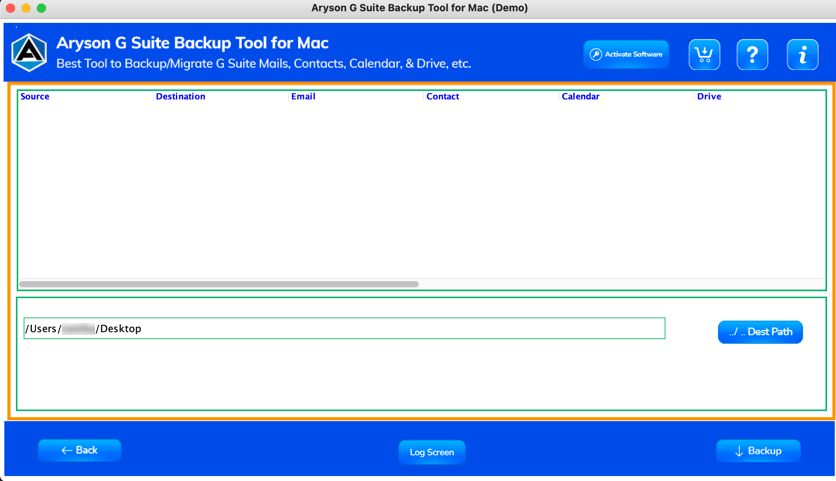
Step 8: Click Next>>Dest Path>>Backup buttons.
- Dest Path:- It allows you to set the saving Path for the output folder.
- Backup:- It lets you start the Google Workspace Data backup process.
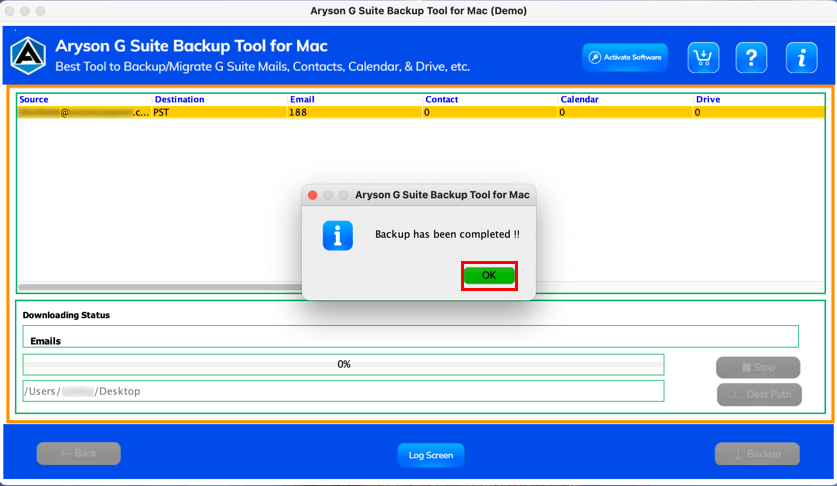
Step 9: Soon, the Backup process of G Suite Mailboxes into PST is completed, and click Ok.
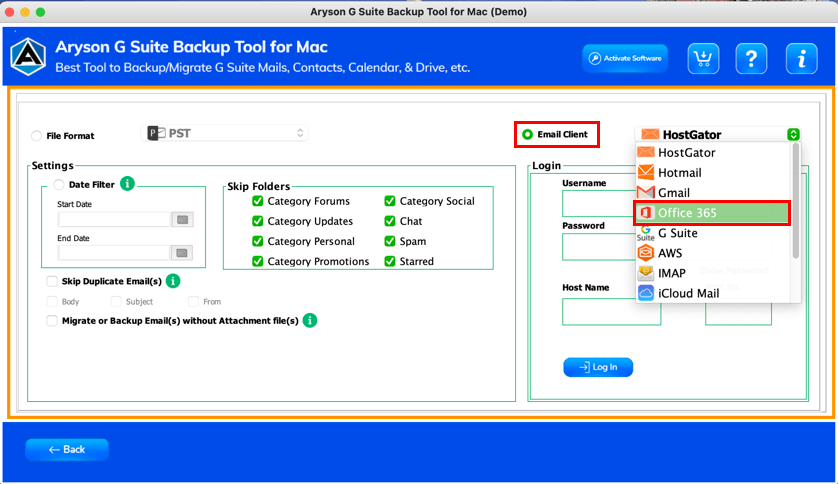
Step 5: Choose the Email Client as Office 365 from the drop-down menu.
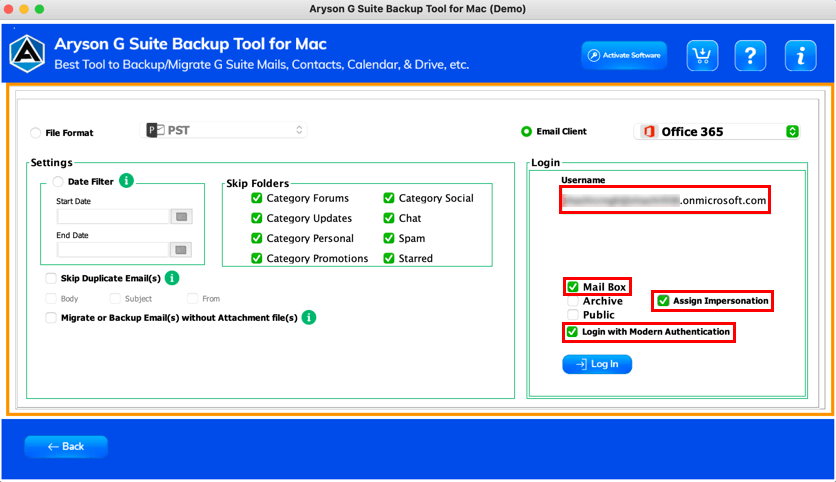
Step 6: Enter the username, choose the Mailboxes(Mailbox/Archive/Public), Assign Impersonation, and check Login with Modern Authentication to Sign In.
Step 7: Then go for other software offering features like Date Filter, which will help you to move only selected mailboxes.
Step 8: Opt for these options:-
- Skip Duplicate Emails:- Use this feature to remove the attachments files.
- Migrate or Backup Emails without Attachments files:- To remove all the attachments from the email messages.

Step 9: After that, click on the login button.
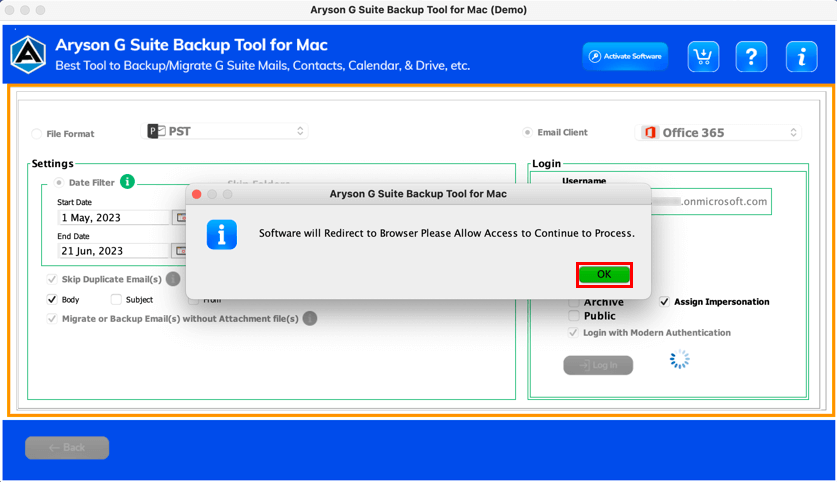
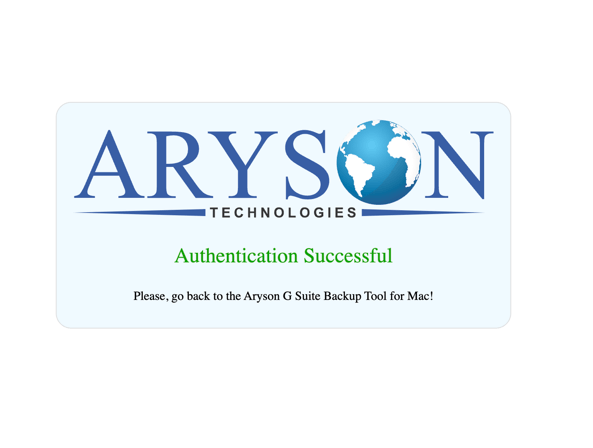
Step 10: Here, you will be redirected to the default browser to complete the login process, and it will show a tab: Authentication Successful.
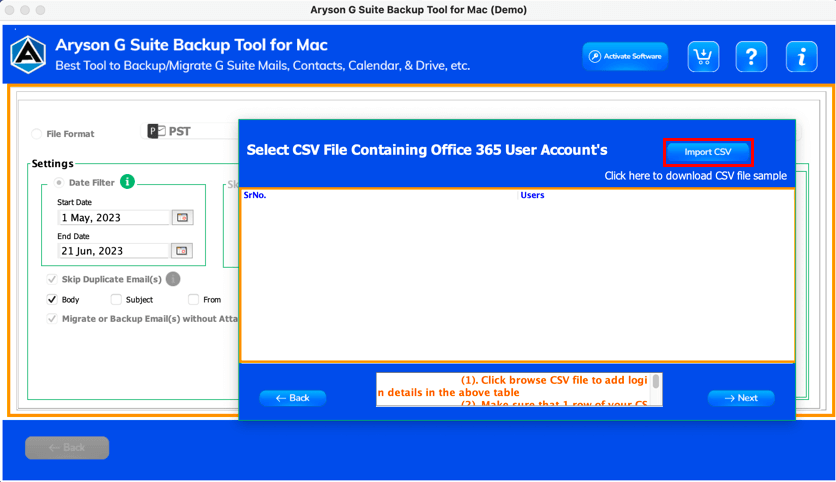
Step 11: Open the Software again and click on the Import CSV button.
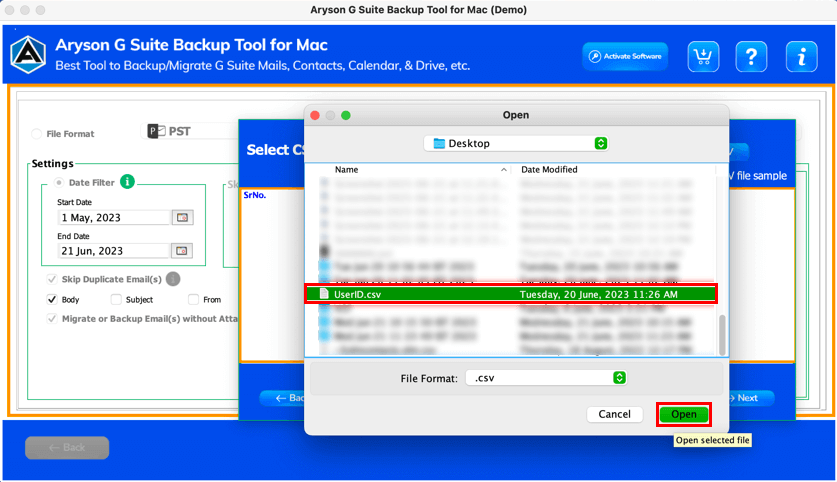
Step 12: Select the CSV file from your system, and you will get User IDs with their Status. Click Ok.
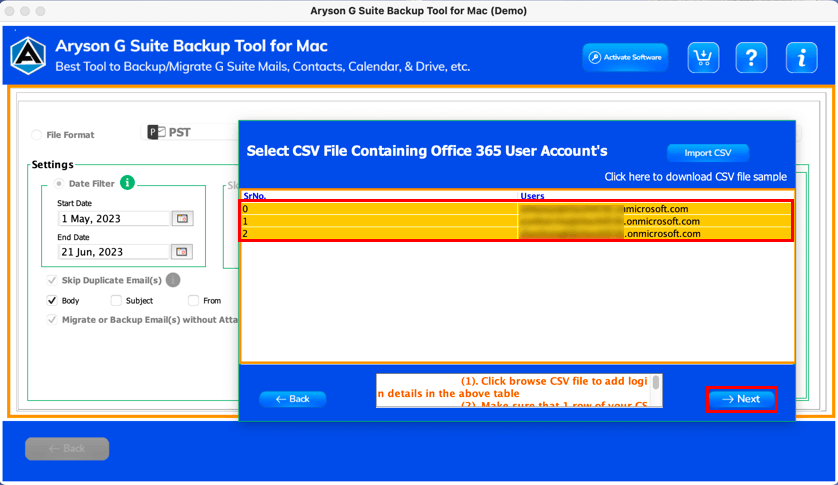
Step 13: Opt for Office 365 users and click the Next button.
Step 14: Map your G Suite User account with your Office 365 User account.
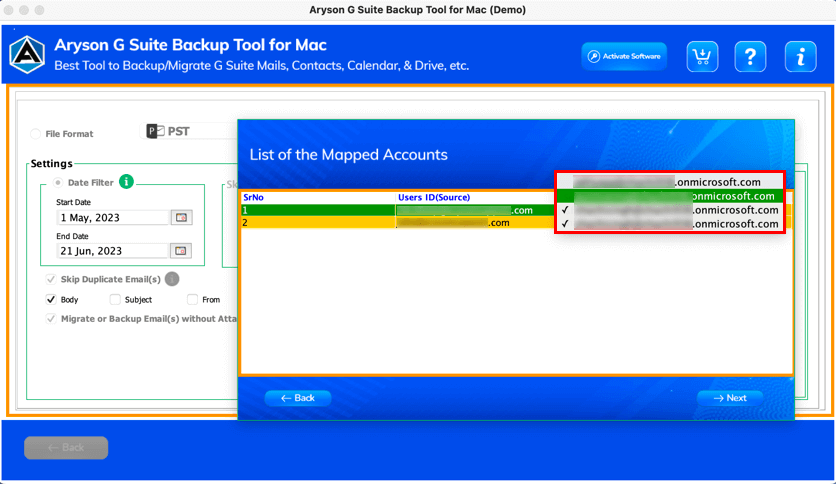
Step 15: Once you complete the mapping process, click Next.
Step 16: Now, click the Backup button to initiate the G Suite to Office 365 migration process.
Step 17: Finally, all your email messages are migrated from your G Suite account to Office 365. Click Ok.
Activation Guide
Activate the Software
Installation & Uninstallation
Installation & Uninstallation of Software
User Interface
User Interface
After downloading the Aryson Mac G Suite Backup Tool, you will find the welcome screen as played below.