Know How to Migrate Google Drive data to a Different Account Effortlessly
-
Table of Content
- Software Working Process
- Activation Guide
- Installation & Uninstallation
- User Interface
Software Working Process
Software Working Process
Follow the Steps to migrate files & folders from Google Drive into another Google Drive, OneDrive, or Local Drive.
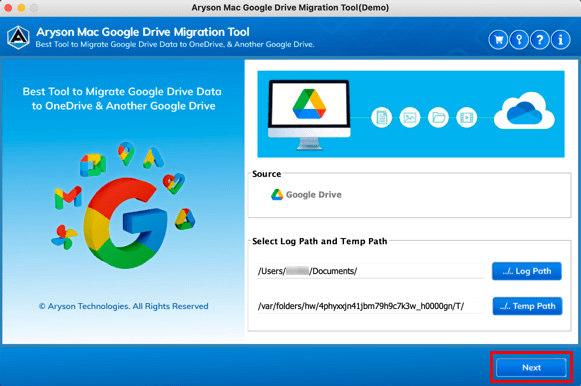
Step 1: First, download, install, and run Google Drive Migration Tool.
Step 2: Make sure to allow the needful access, and click Ok.

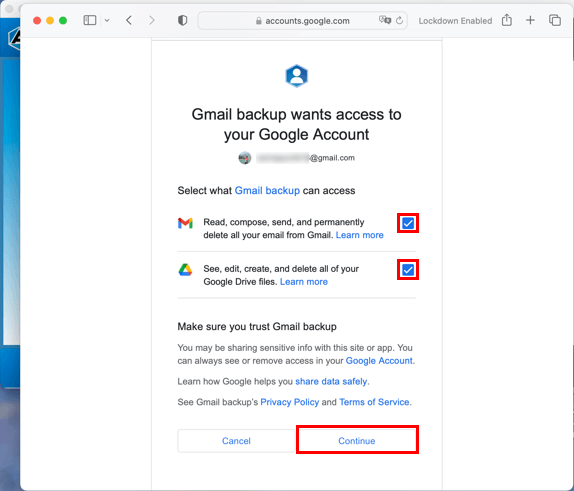
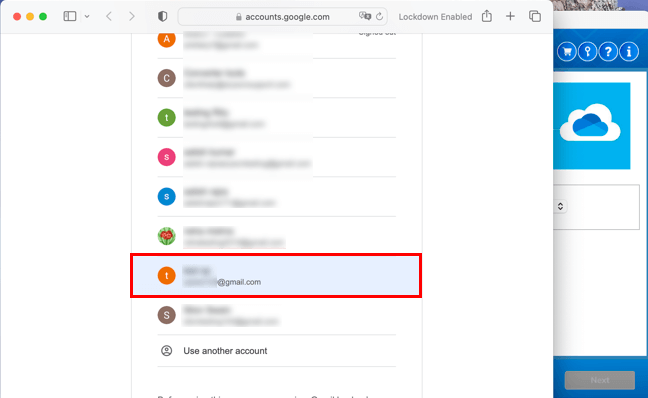
Step 3: Choose the Google Account to login to it or login to a desired Google account.

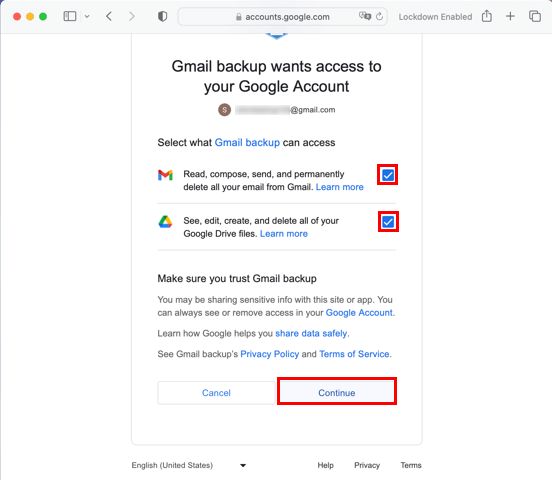
Step 4: You need to permit all the required access and click Continue.
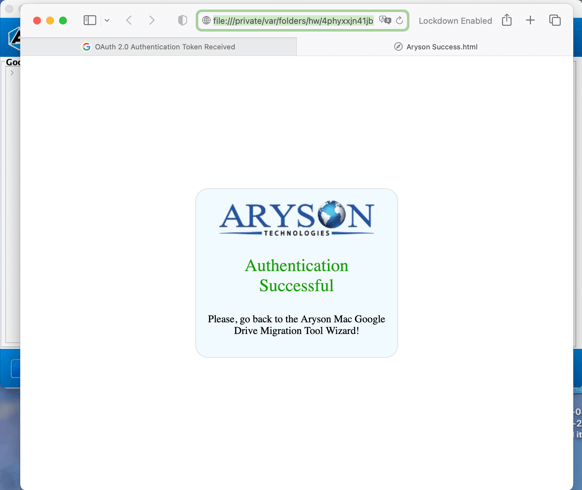
Step 5: Soon you will find messages: Authentication Successful.
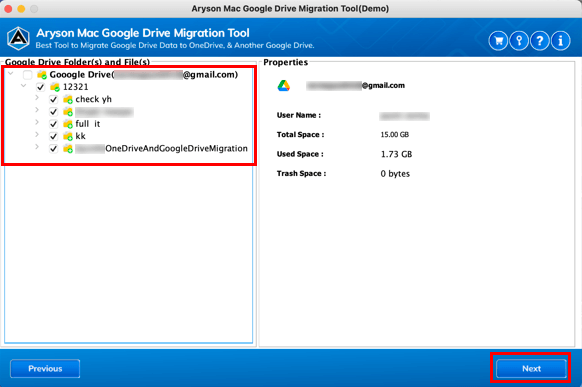
Step 6: Select the folders you need to migrate and click Next.
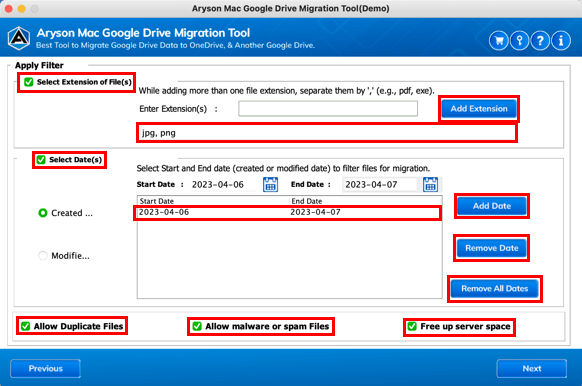
Step 7: Opt for the software built-in options like Select Extension of files, Select Date, Allow Duplicate files, Free-up Server Space. Click Next.
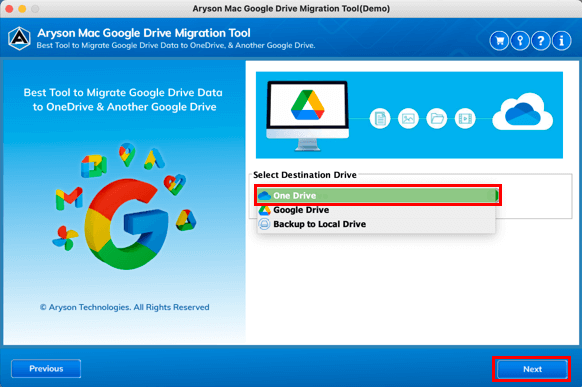
Step 8: Choose the destination drive as OneDrive from the drop-down list.
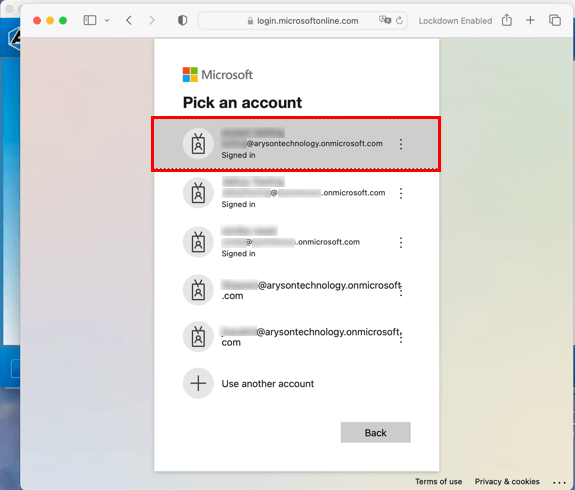
Step 9: Log in with your desired OneDrive account credentials.
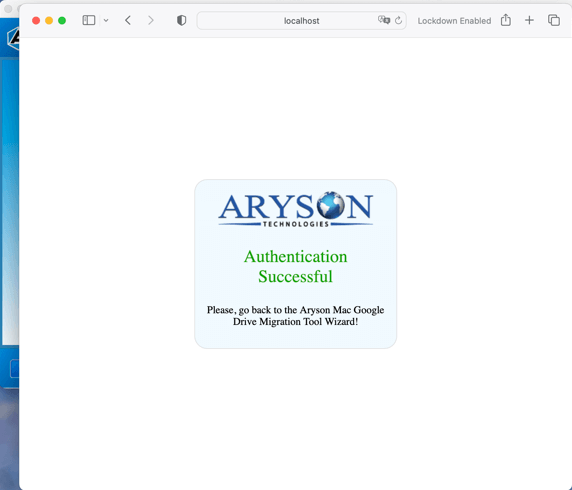
Step 10: Soon you will find messages: Authentication Successful.
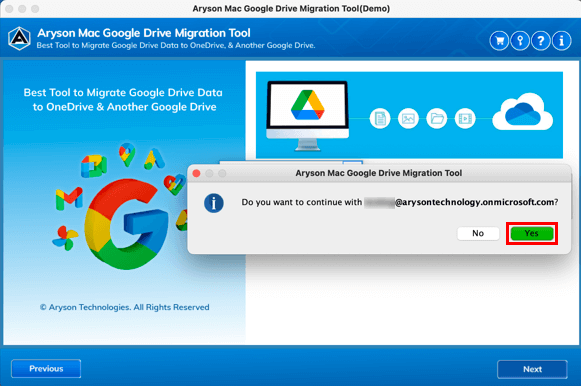
Step 11: Please continue with the accounts you login to and click Yes.
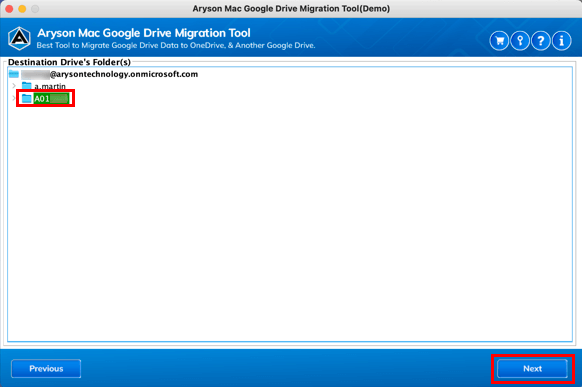
Step 12: Select the folder where you want to save the data and click Next.
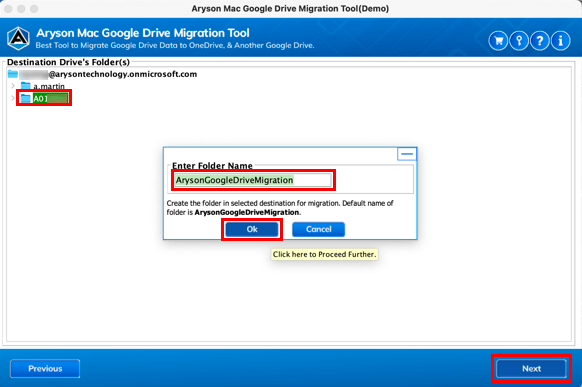
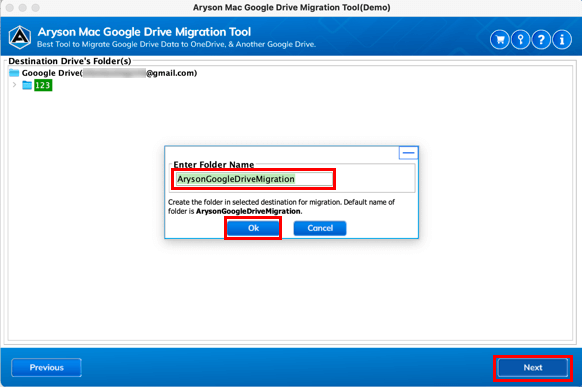
Step 13: Enter the folder name, or by default, the name is set to be ArysonGoogleDriveMigration. Click Ok.
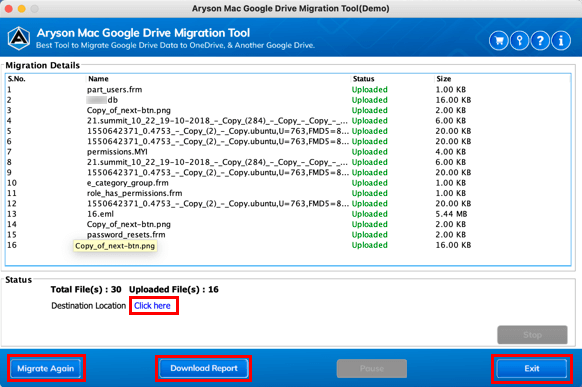
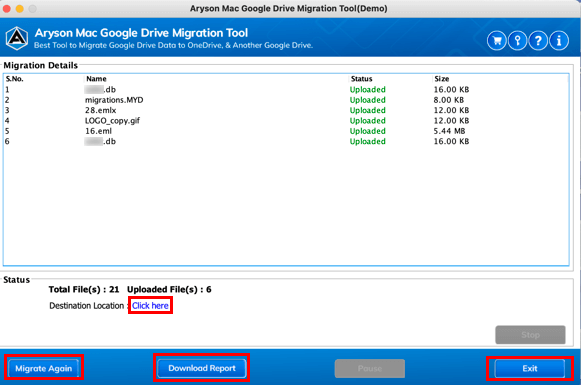
Step 14: At last, data migration from Google Drive to OneDrive is started. You can also close the software after migration by clicking the Exit button.
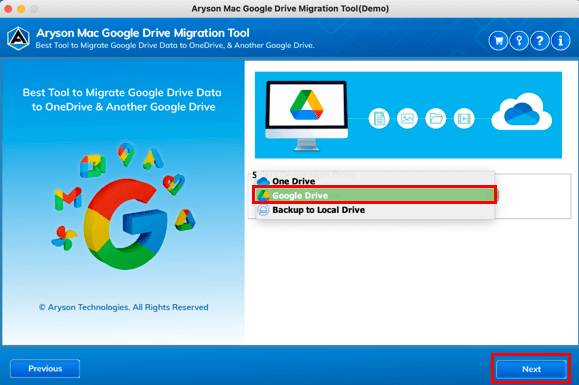
Step 8: Select Destination Drive as Google Drive from the drop-down list. Click Next.
Step 9: Choose the Google Accounts where you want to migrate the source Google Drive account data.
Step 10: Let's give access to the software and click Continue.
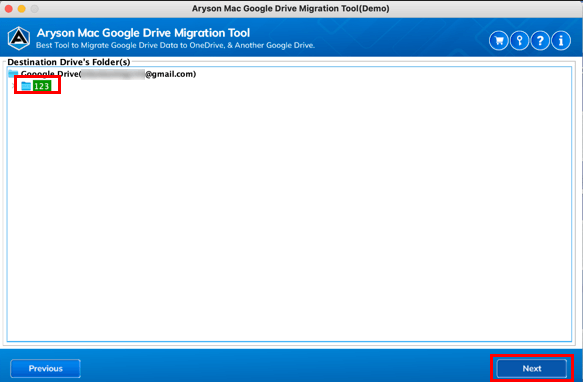
Step 11: Opt for the folder where you want to save the data and tap Next.
Step 12: You can even enter the name of the output folder and click Ok to start the migration.
Step 13: Finally, all your data migrated from Google Drive to another Google Drive.
Activation Guide
Activate the Software
Installation & Uninstallation
Installation & Uninstallation of Software
User Interface
User Interface
After downloading the Aryson Mac Google Drive Migration Tool, you will find the welcome screen as played below.