How to Convert or Import EMLX files into other File Formats and Email Clients
-
Table of Content
- Software Working Process
- Activation Guide
- Installation & Uninstallation
- User Interface
Software Working Process
Software Working Process
Implement the steps below to convert single and multiple EMLX files to other email clients and file formats.
Step 1: Download & Install the EMLX Converter Tool and run it as administrator.
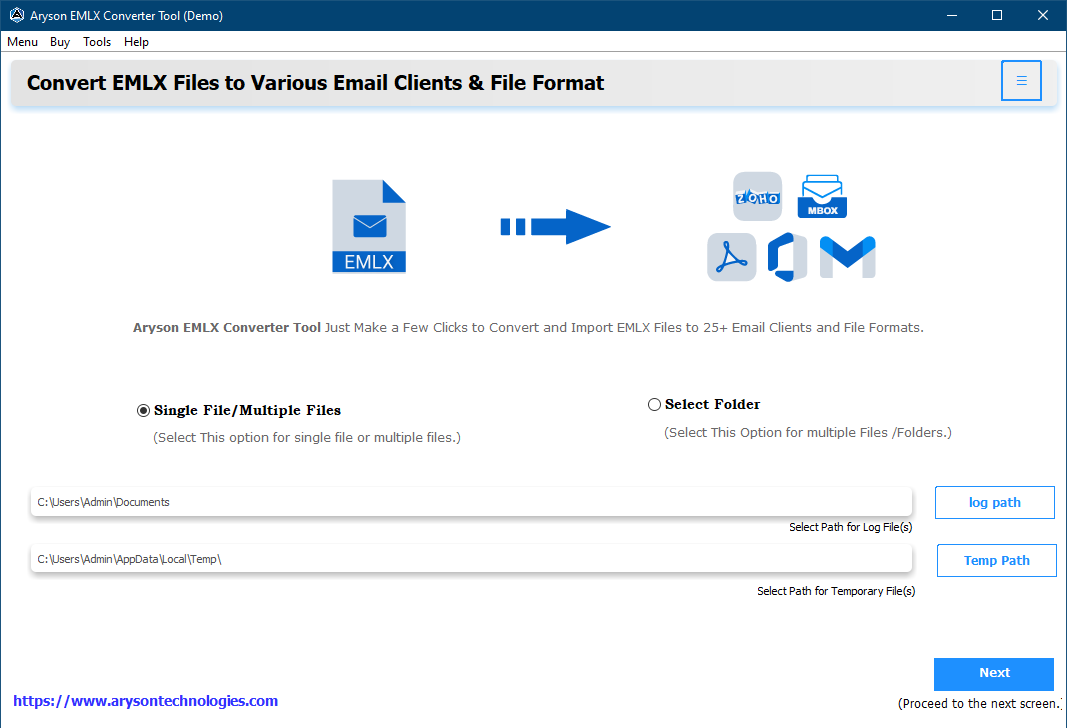
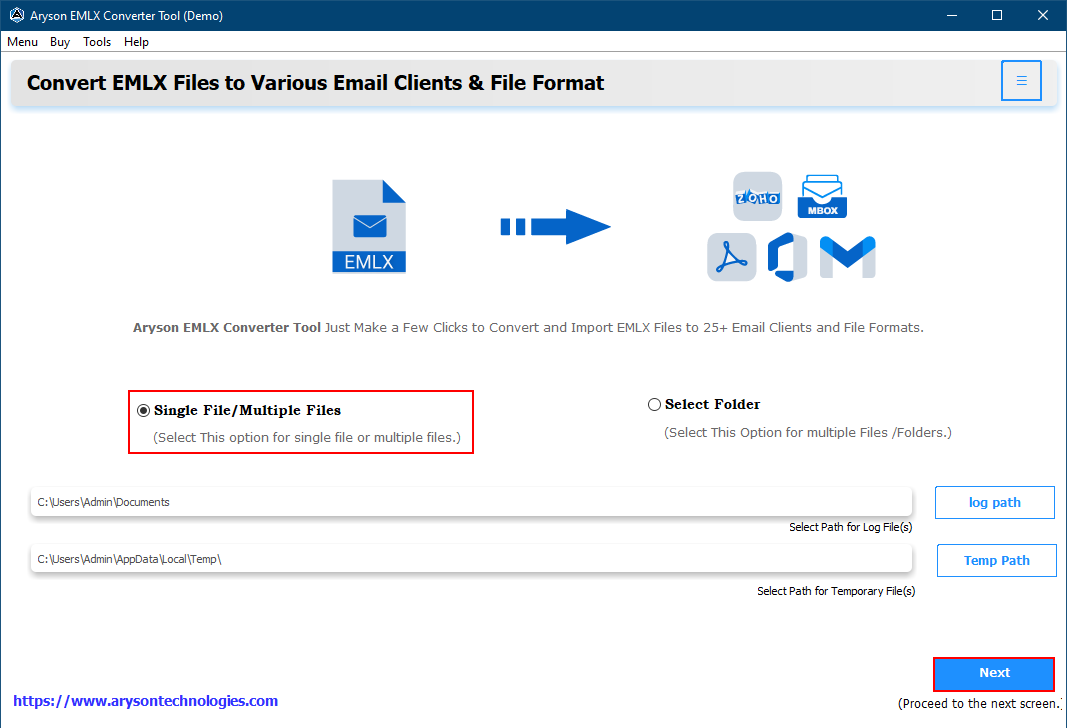
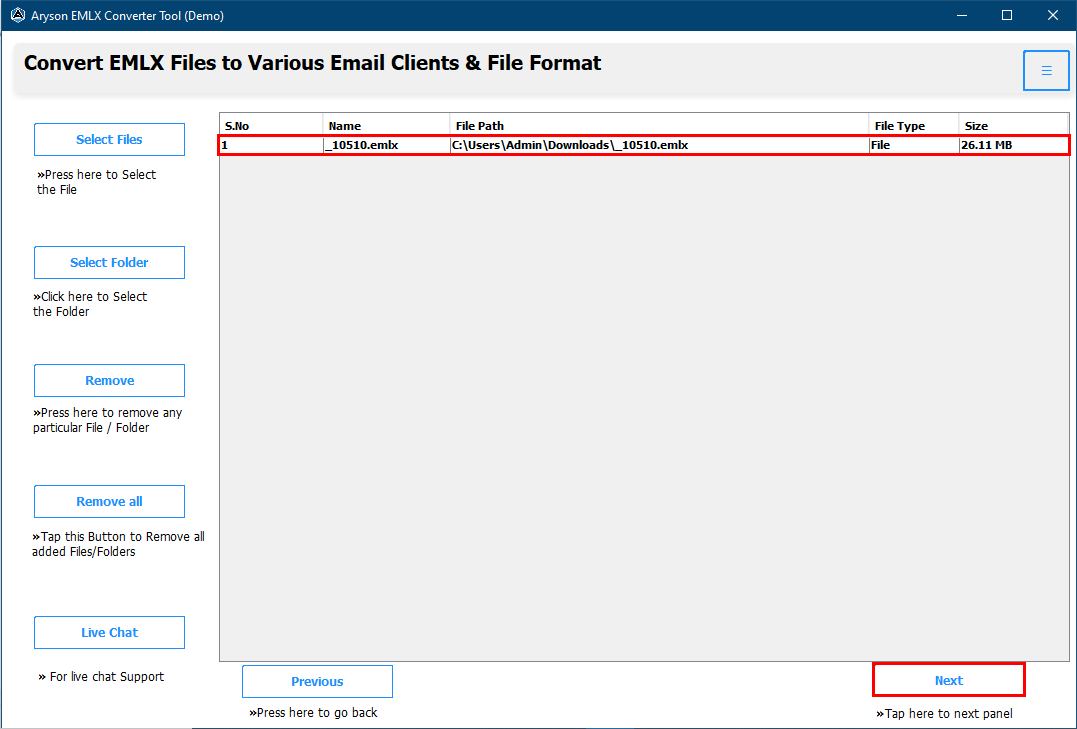
Step 2: Here, choose the Single File or Multiple File/Folder or Select Folder options to add an EMLX file to the tool.
Step 3: Click on Select File or Select Folder to add the required EMLX file.
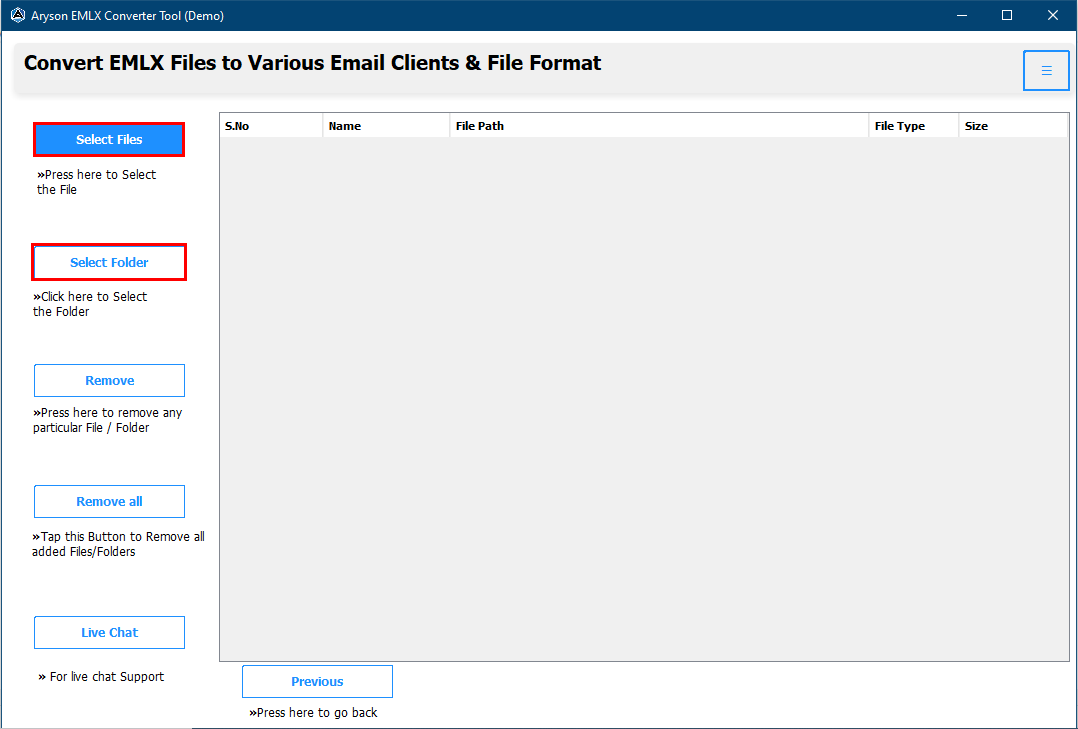
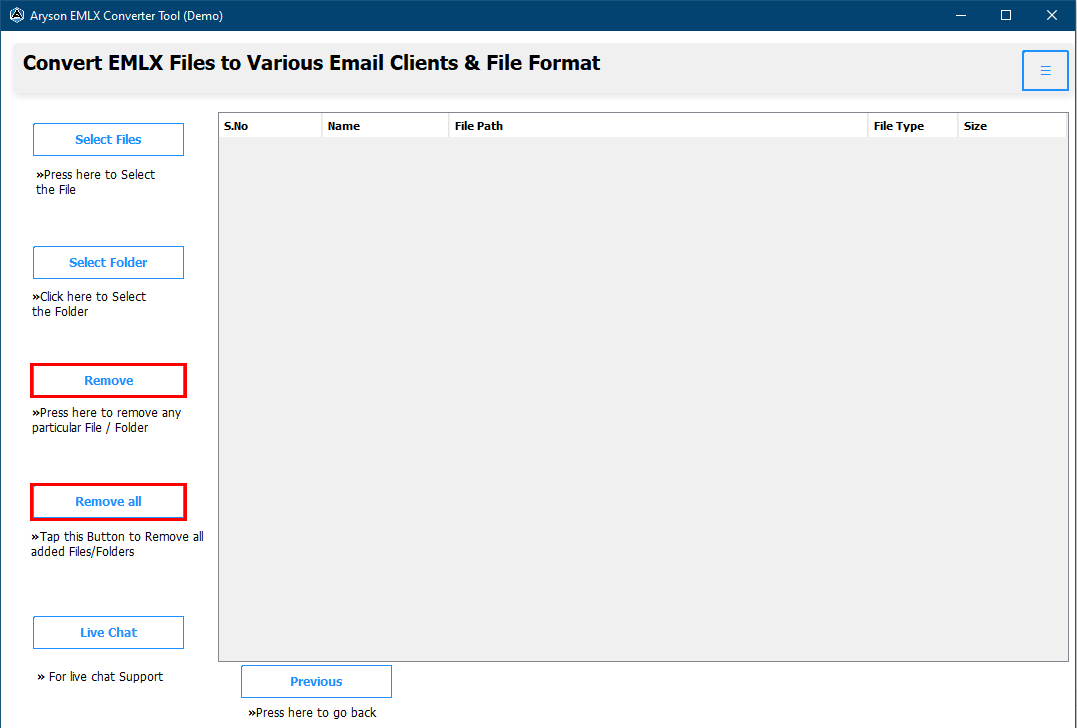
Step 4: If you want to delete the select files then click on the Remove and Remove All button.
Step 5: After that, you can see all your finalised files on the tool's interface, click Next to move forward.
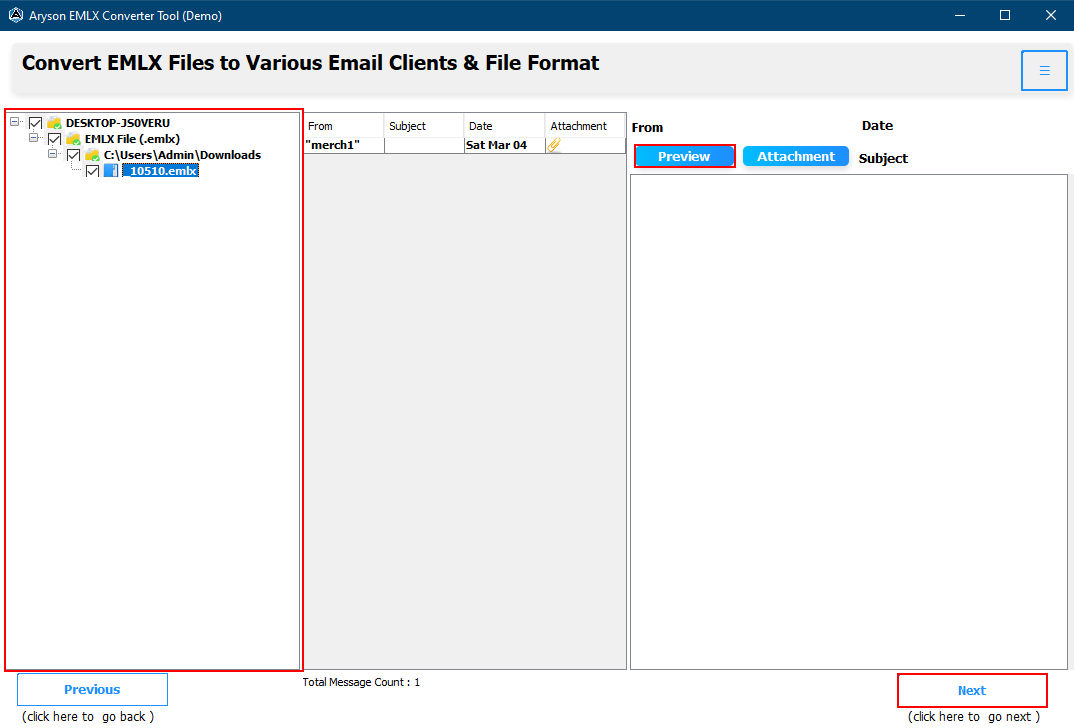
Step 6: Check the folders that you want to convert. You can also preview the details of a folder by double-clicking on the specific one. Click Next.
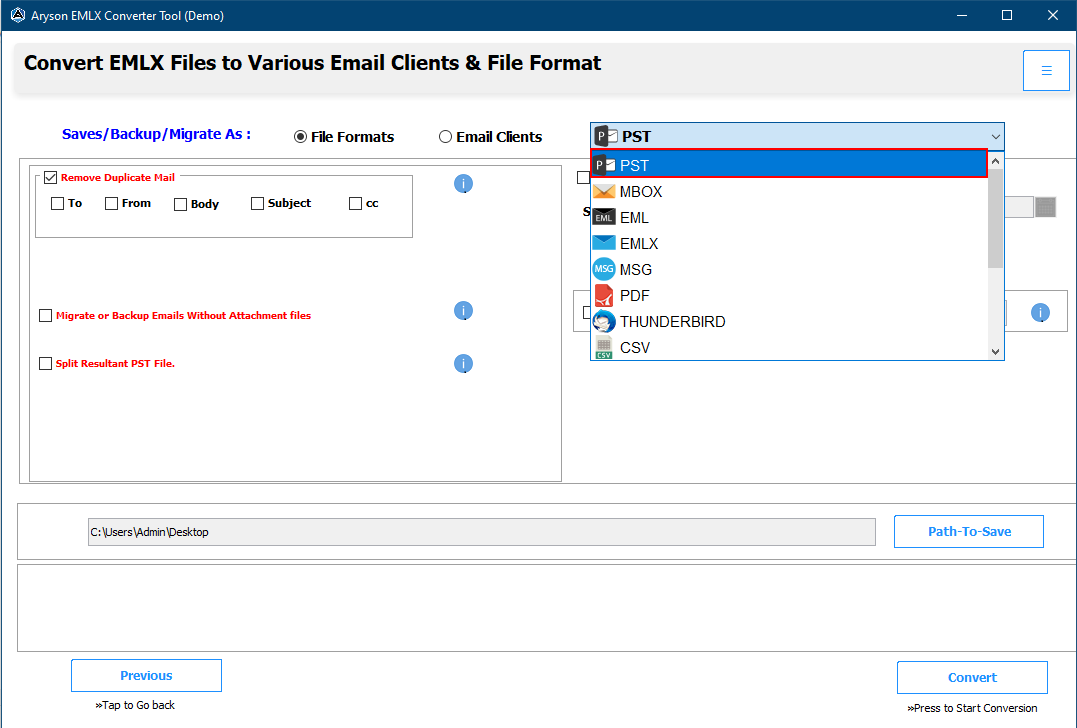
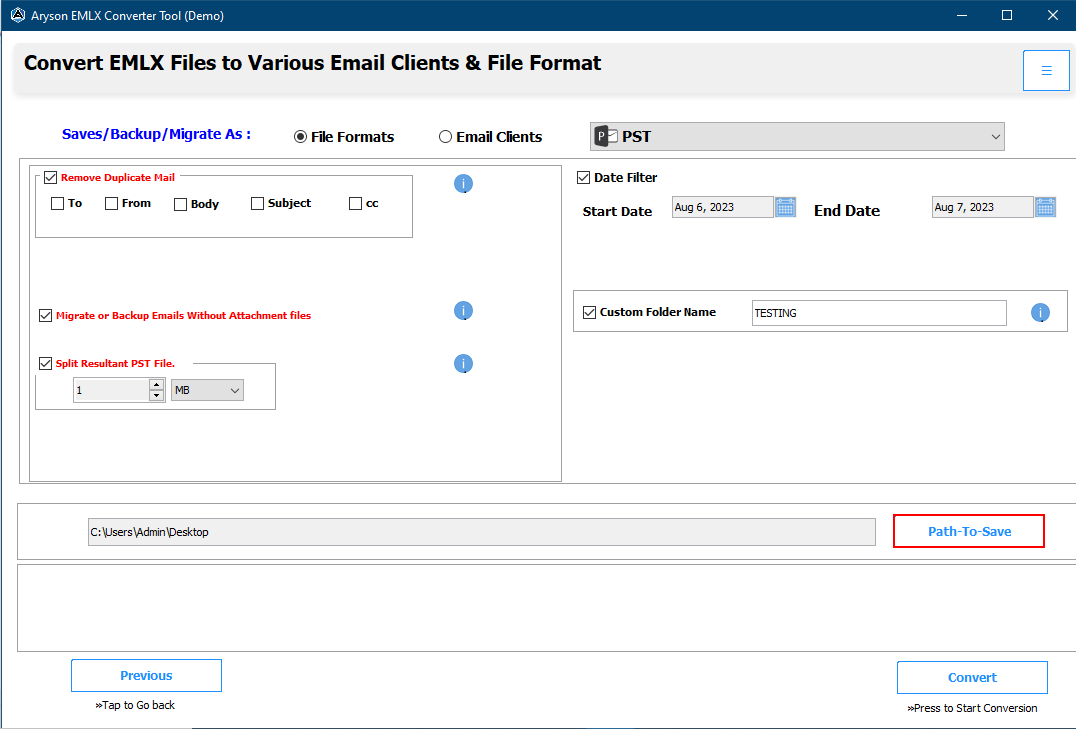
Step 7: Choose the saving format as PST from the drop-down list.
Step 8:Choose the filters that you need:
- Remove Duplicate Mail - by choosing this option you can delete identical emails based on To, From, Body, and Subject.
- Migrate or Backup Emails Without Attachment Files - by choosing this feature users can save their email without attachments.
- Split Resultant PST File - if your PST file is huge and you want split it into a smaller PST file then choose this option.
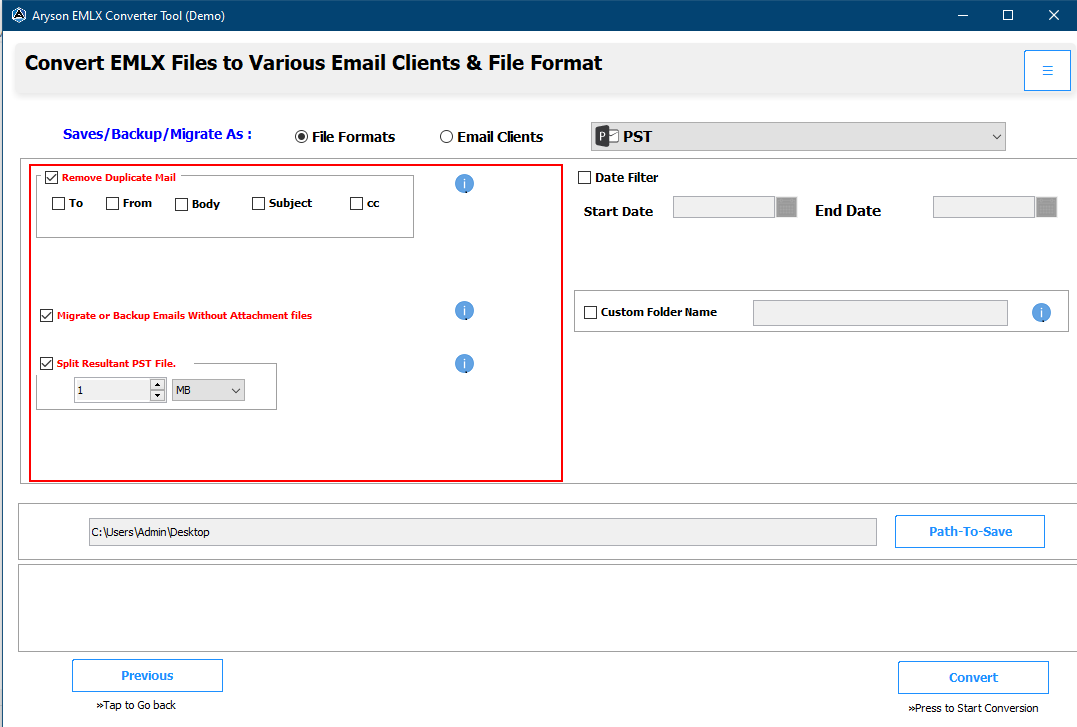
Step 9: Go for these options:
- Date Filter:- To separate the particular mailbox emails based on a date range.
- Custom Folder Name:- This feature allows you to save your data into the desired folder name.

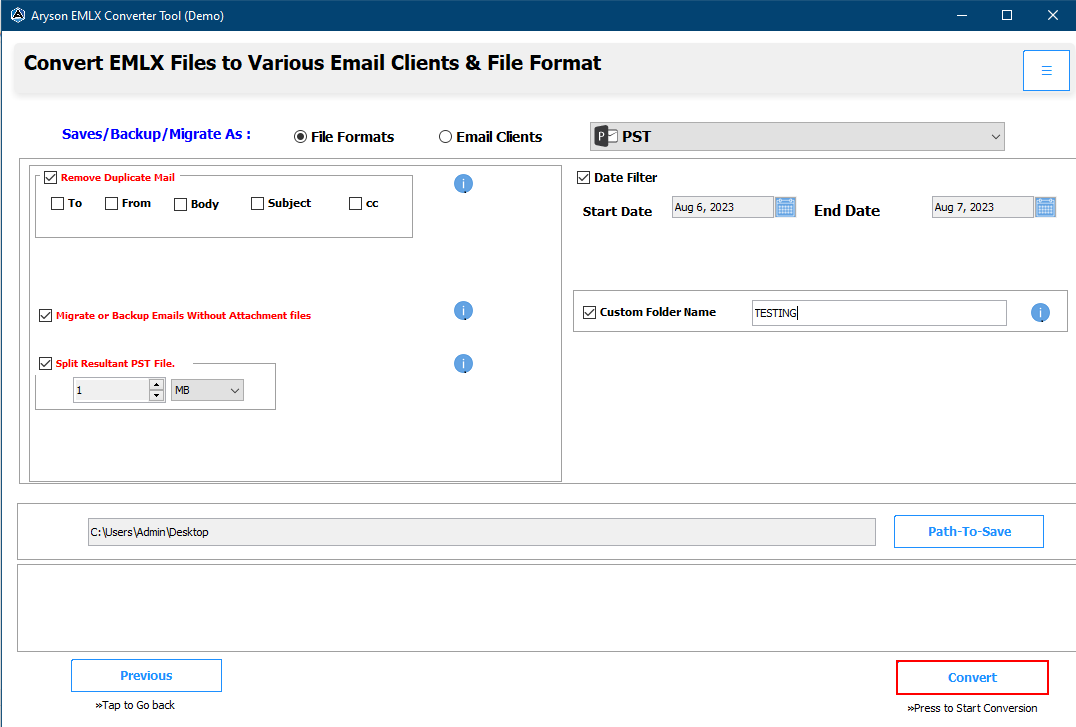
Step 10: Go to the Path to Save button to define the folder location where you want to save your converted email files.
Step 11: Click the Convert button to start the data conversion process.
Step 12: Click the OK button to get on to the final interface.
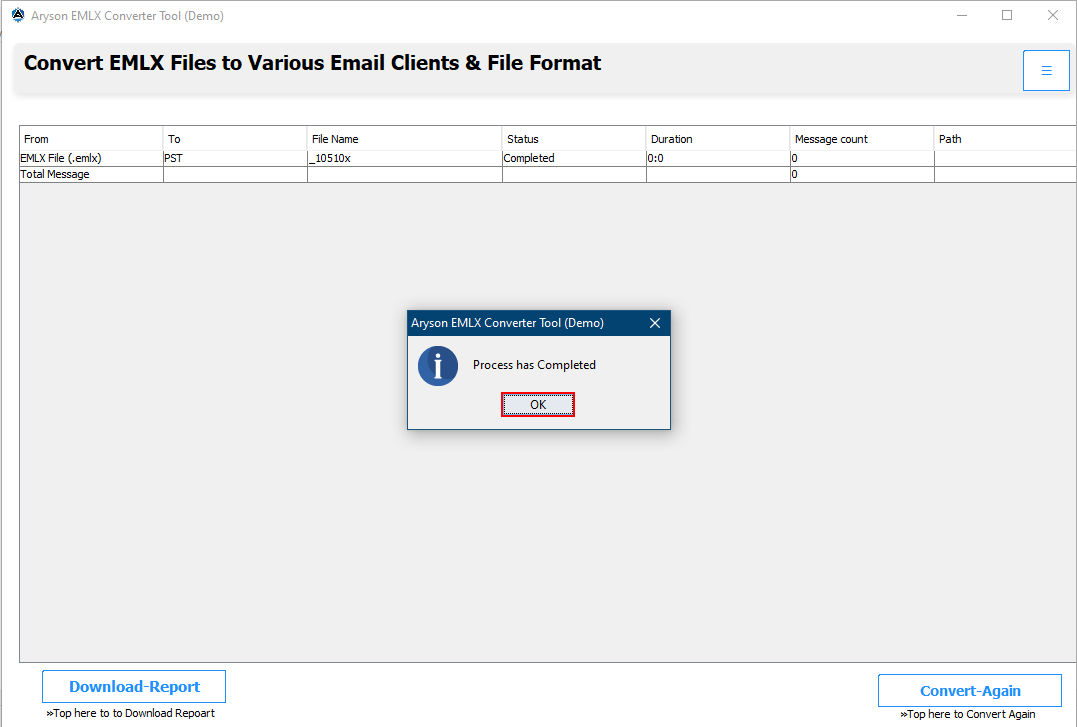
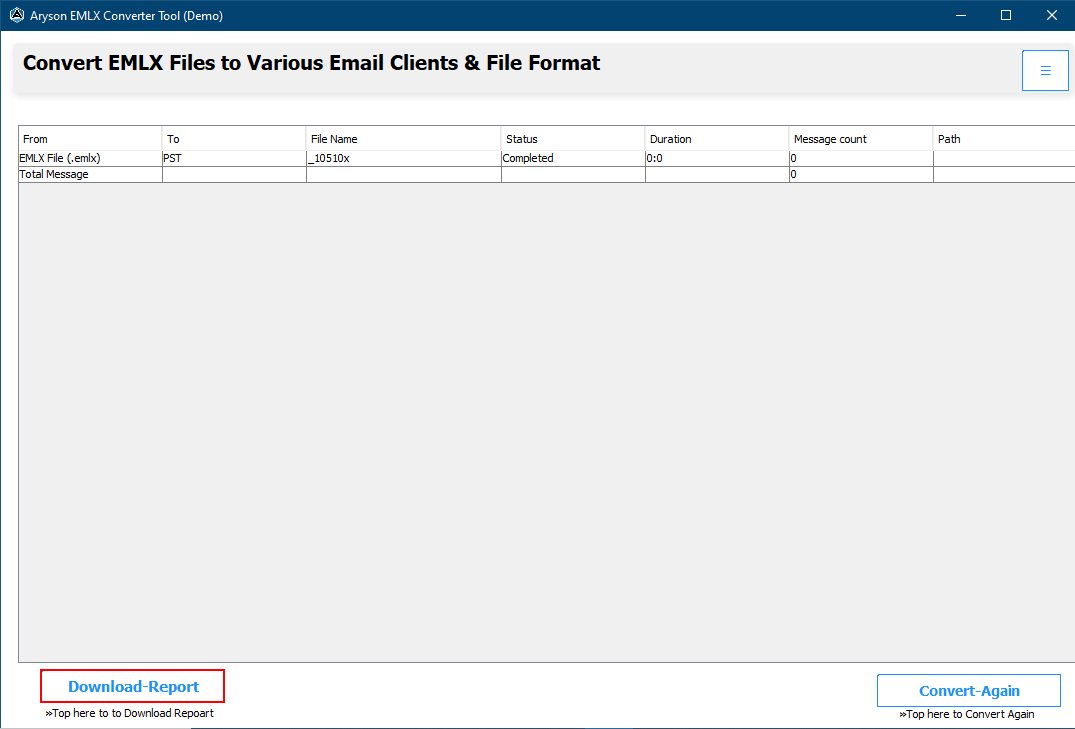
Step 13: In some minutes, your converted file is saved at your pre-defined location, and a process report is generated. You can save this process report for future use.
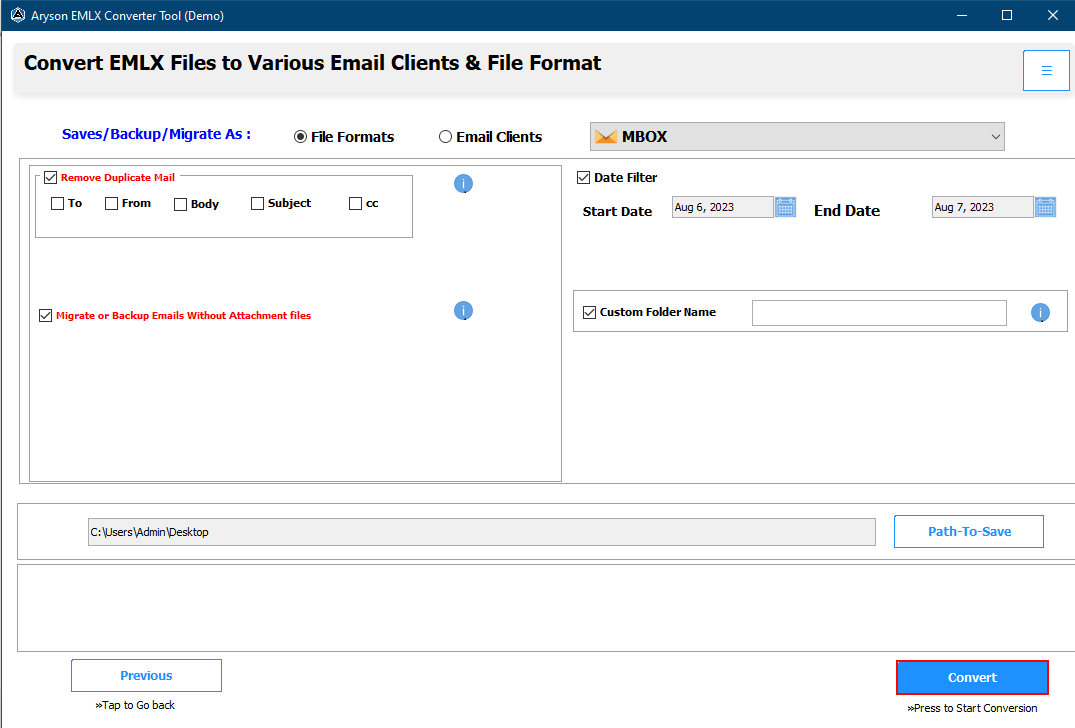
Step 7: Select MBOX from the drop-down menu.
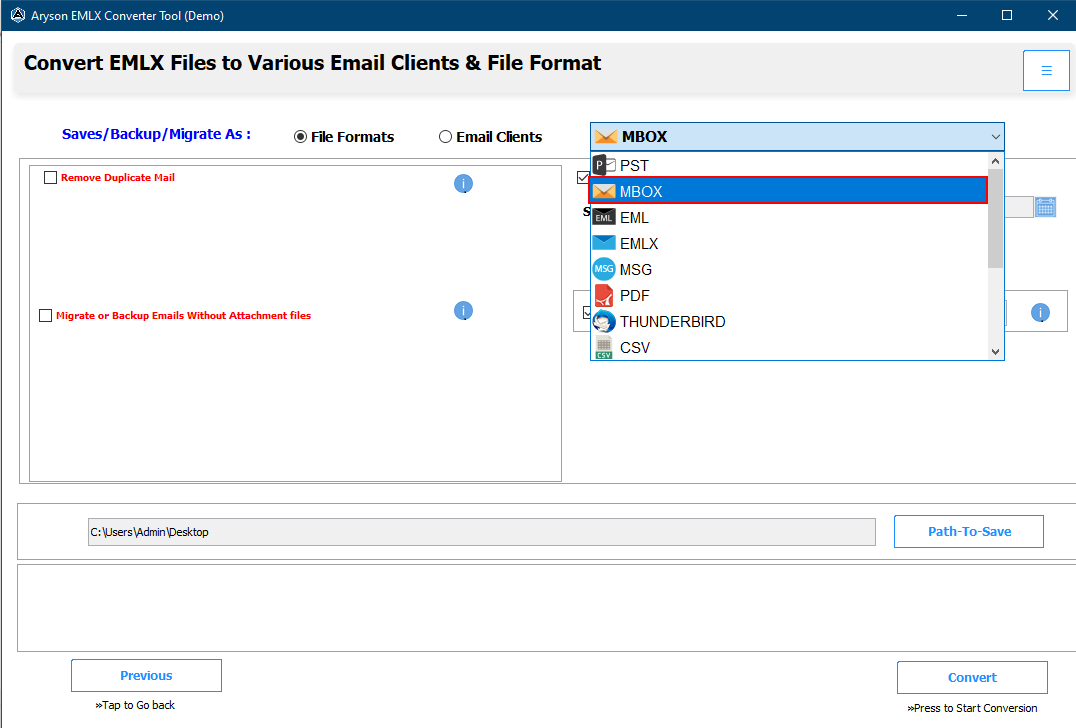
Step 8: Choose the filters that you need:
- Remove Duplicate Mail - by choosing this option you can delete identical emails based on To, From, Body, and Subject.
- Migrate or Backup Emails Without Attachment Files - by choosing this feature users can save their email without attachments.
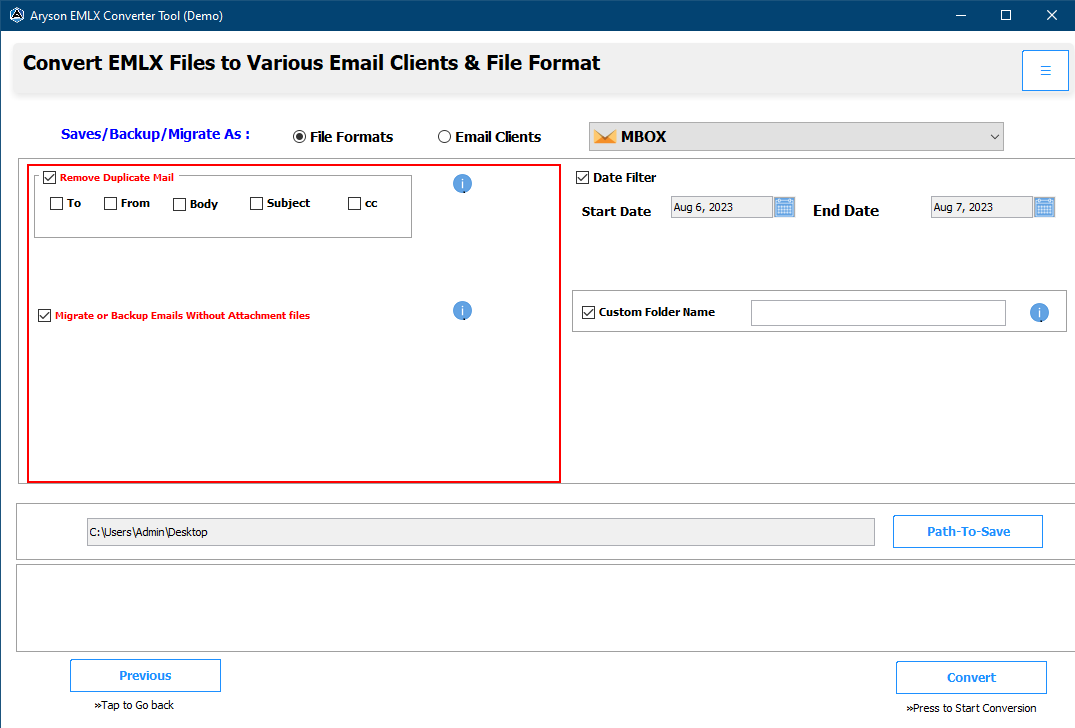
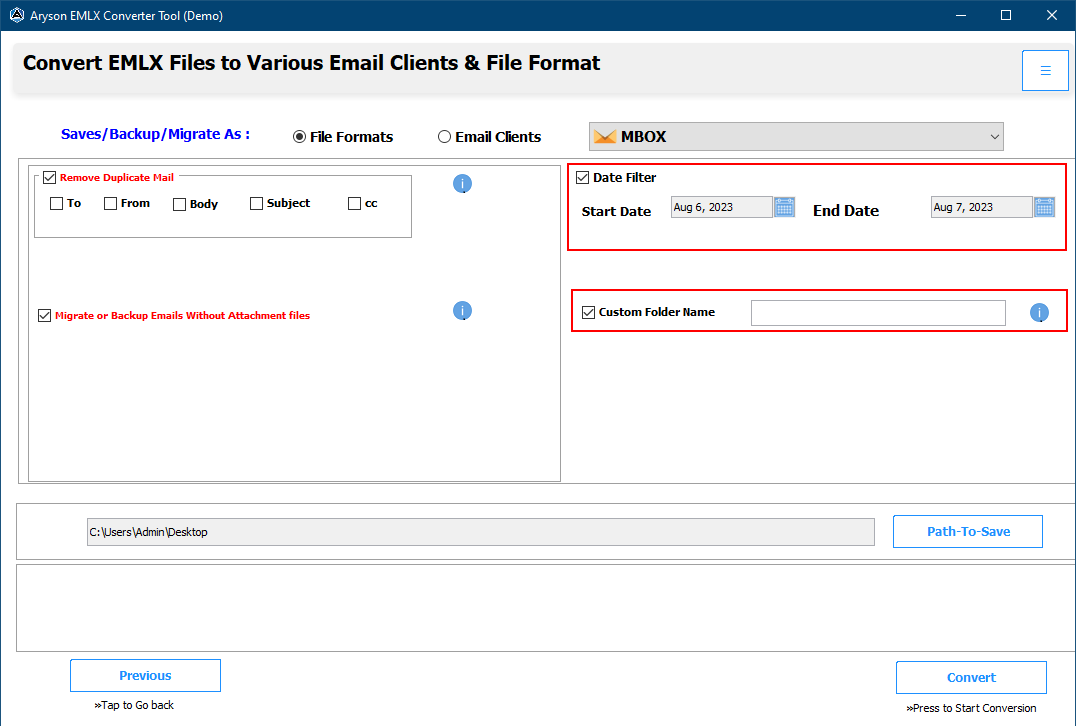
Step 9: Go for these options:
- Date Filter:- To separate the particular mailbox emails based on a date range.
- Custom Folder Name:- This feature allows you to save your data into the desired folder name.
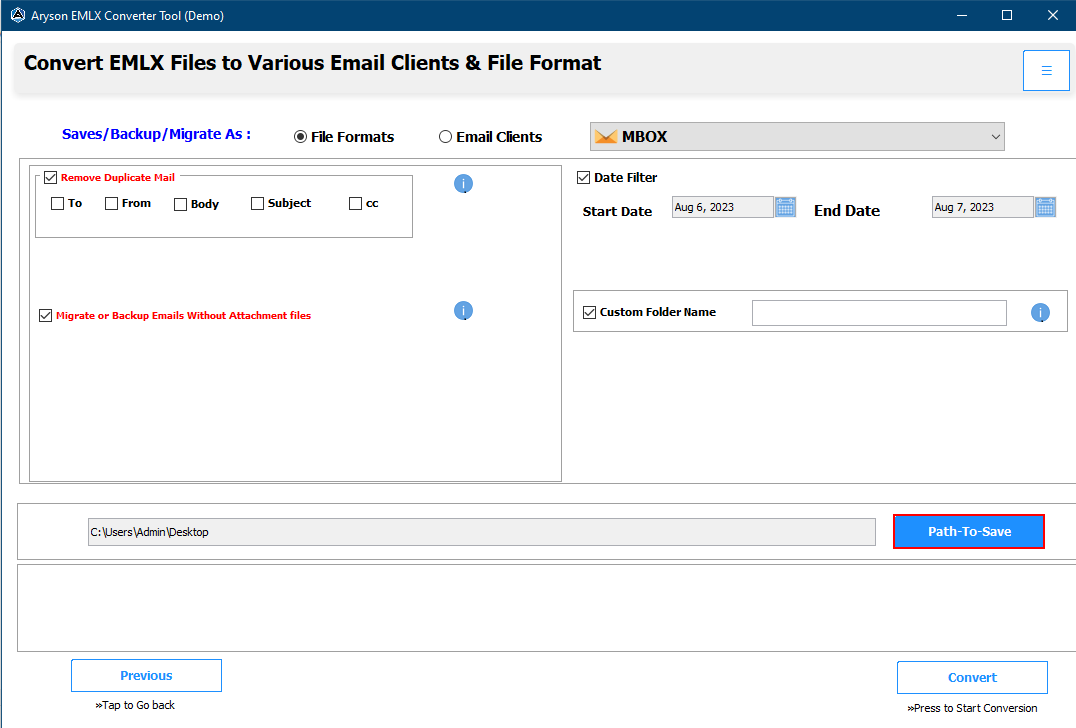
Step 10: Go to the Path to Save button to define the folder location where you want to save your converted email files.
Step 11: Click the Convert button to start the data conversion process.
Step 12: Click the OK button to get on to the final interface.
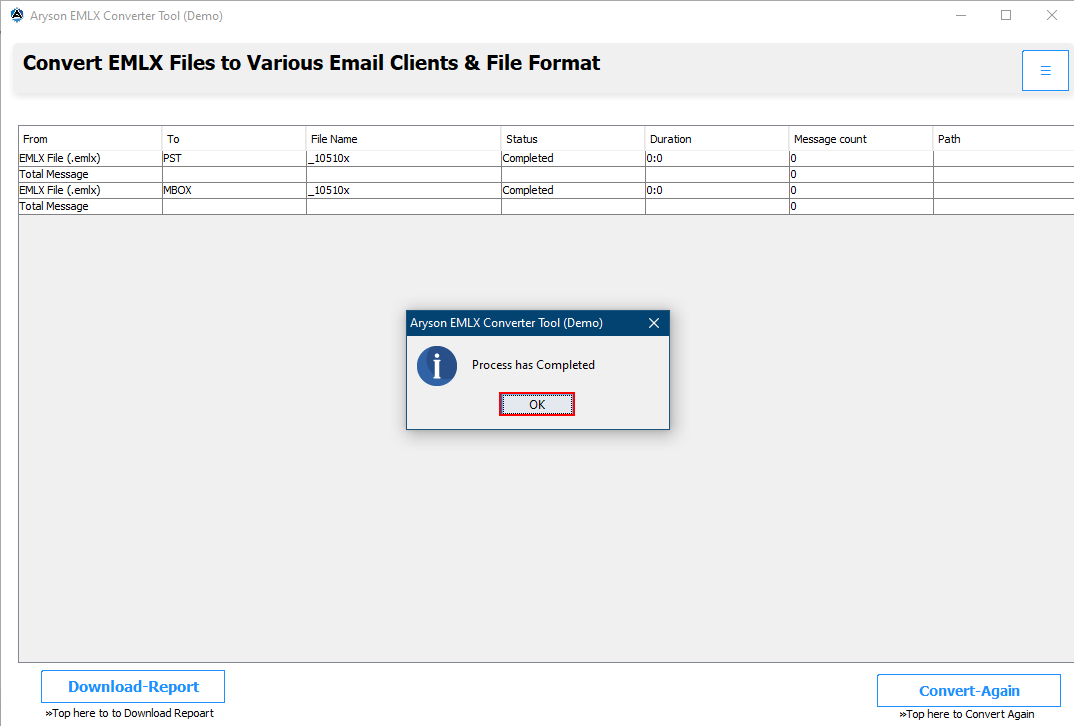
Step 13: In some minutes, your converted file is saved at your pre-defined location, and a process report is generated. You can save this process report for future use.

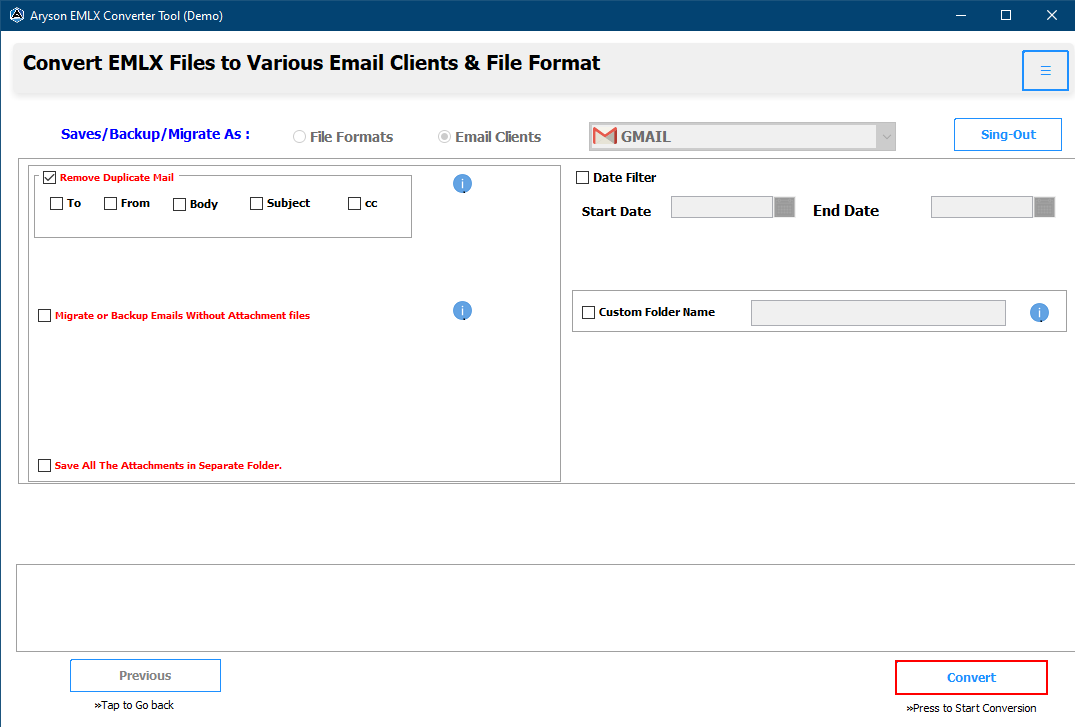
Step 7: Select Gmail from the drop-down menu.
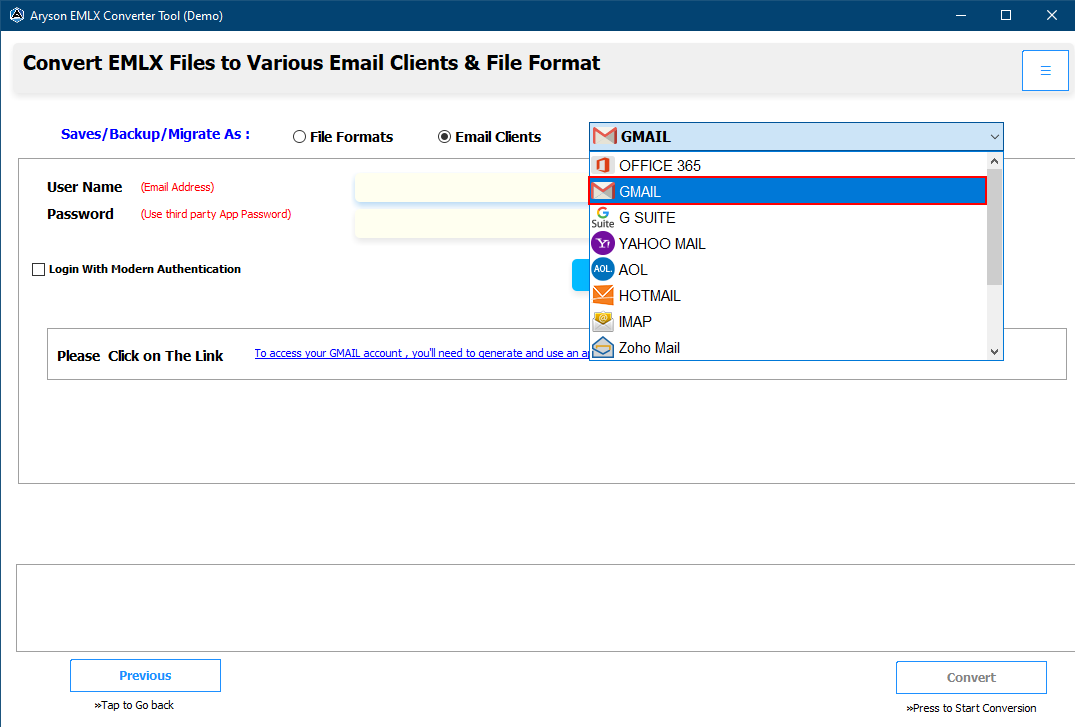
Step 8: Check the Login with Modern Authentication and enter your Gmail user ID, then click the Sign in button.

Step 9: Select the ID that you entered earlier.
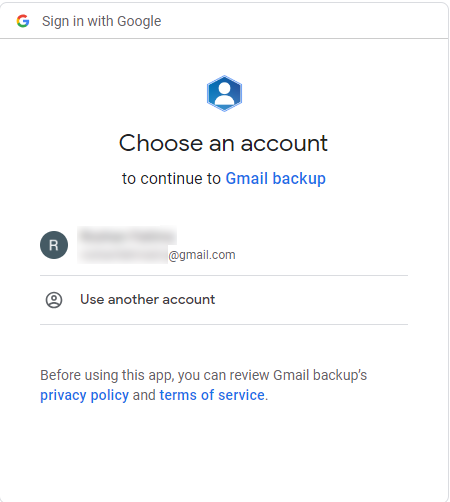
Step 10: Provided access to all the criteria and click the Continue button.

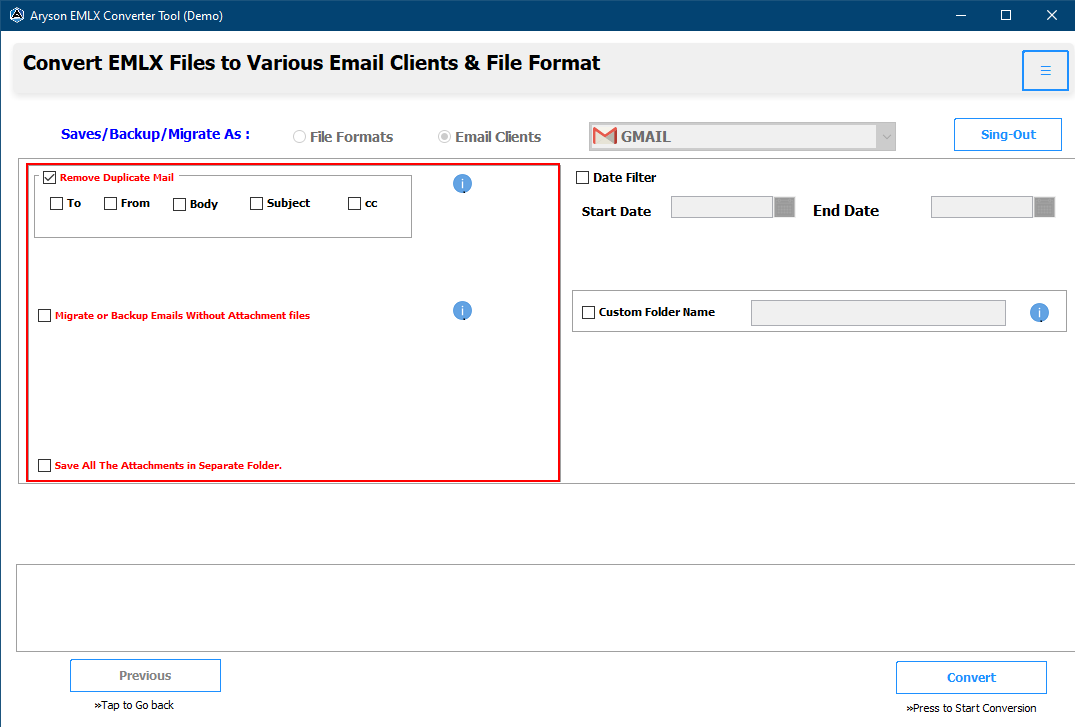
Step 11: Choose the filters that you need:
- Remove Duplicate Mail - by choosing this option you can delete identical emails based on To, From, Body, and Subject.
- Migrate or Backup Emails Without Attachment Files - by choosing this feature users can save their email without attachments.
- Save All the Attachments in a Separate Folder - by choosing this filter you can save all your attachment files in a separate folder.
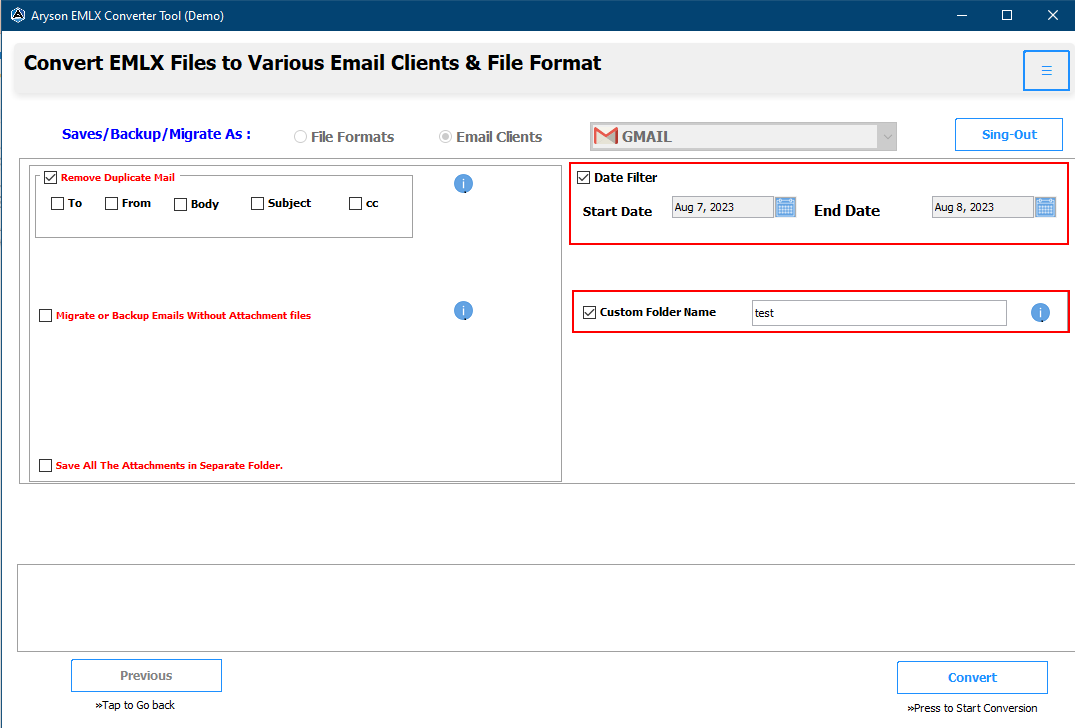
Step 12: Go for these options:
- Date Filter - To separate the particular mailbox emails based on a date range.
- Custom Folder Name - This feature allows you to save your data into the desired folder name.
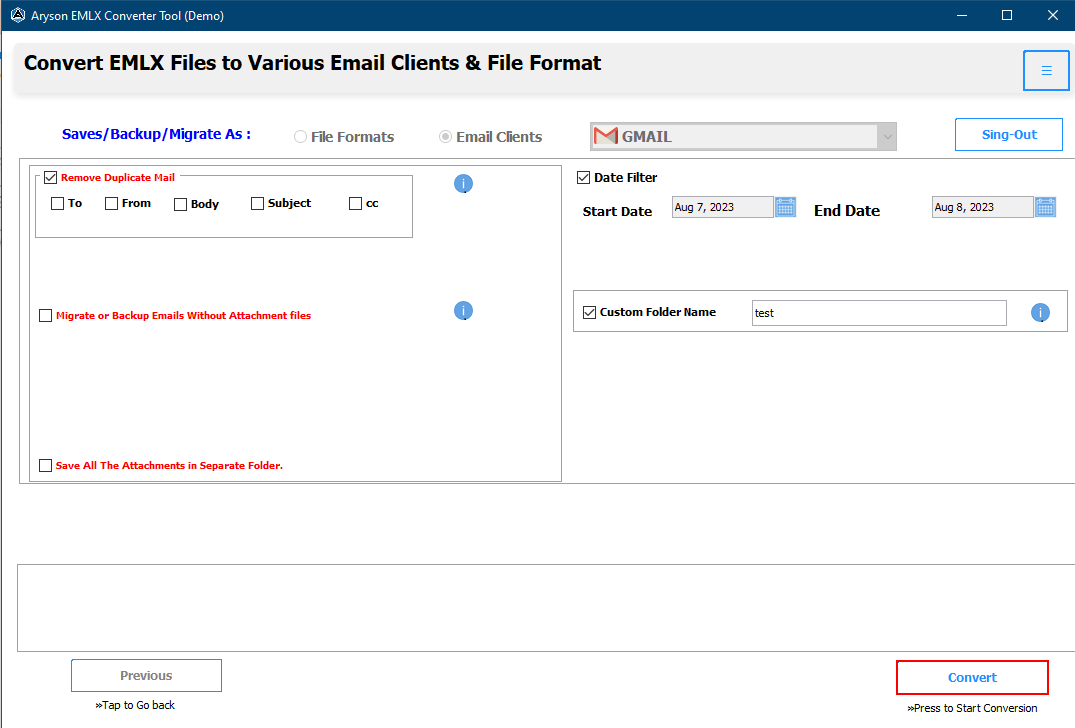
Step 13: Click the Convert button to start the data conversion process.
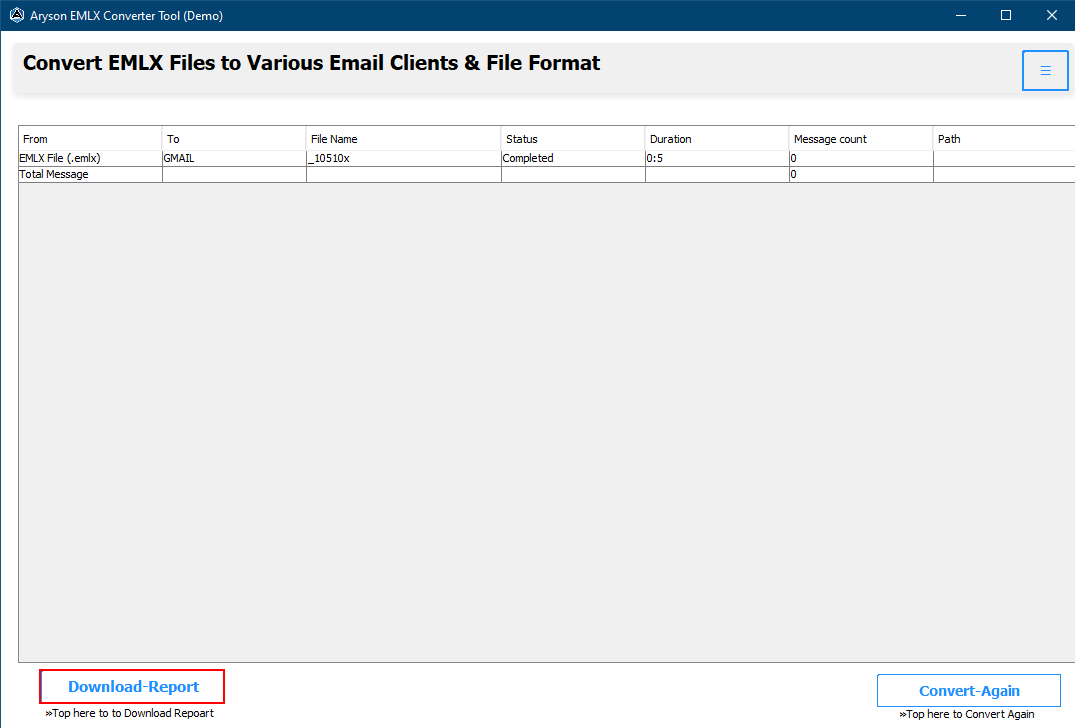
Step 14: In some minutes, your converted file is saved at your pre-defined location, and a process report is generated. You can save this process report for future use.
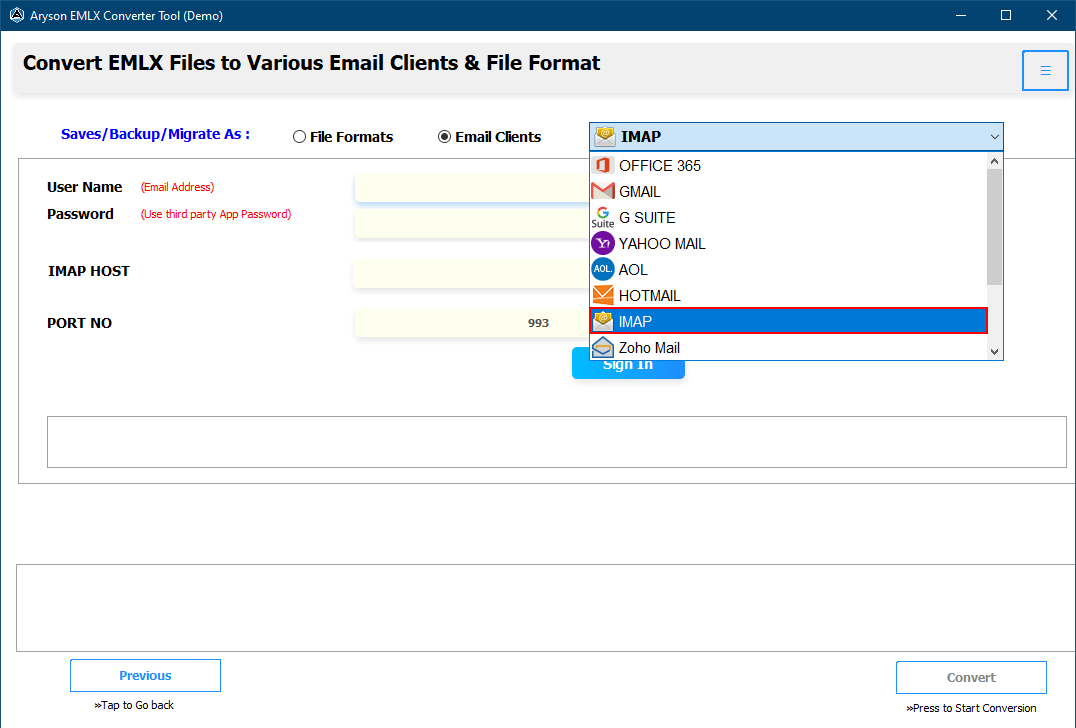
Step 7: Select IMAP from the drop-down menu.
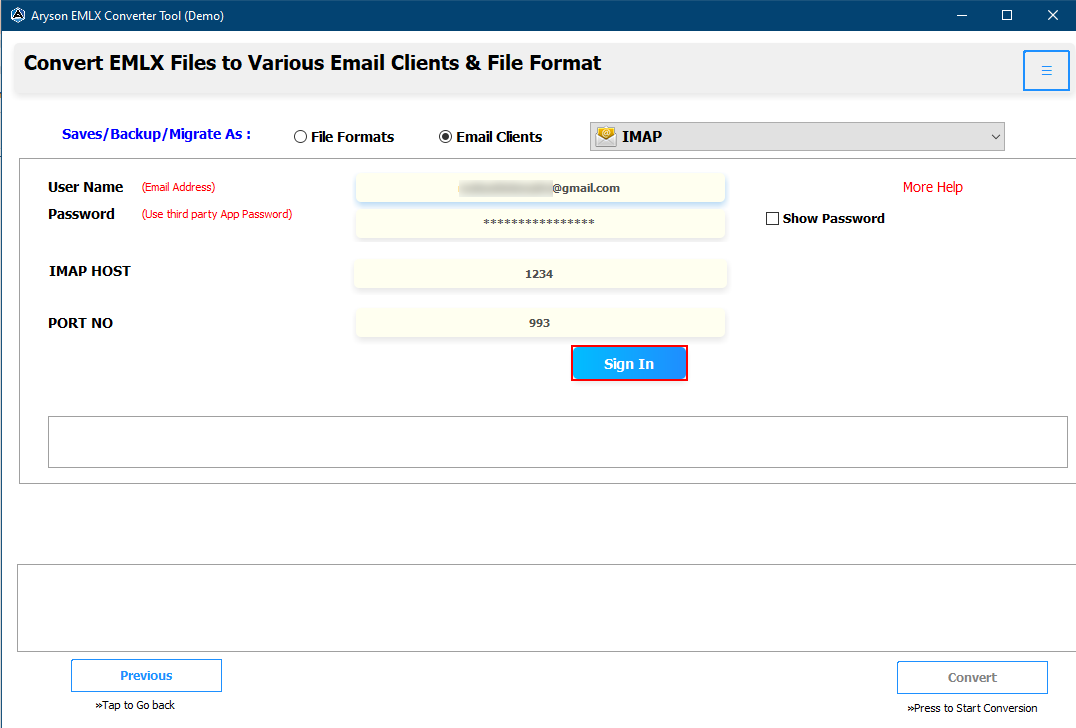
Step 8: Enter your User Name, Password, IMAP Host, and Port no. and click the Sign in button.
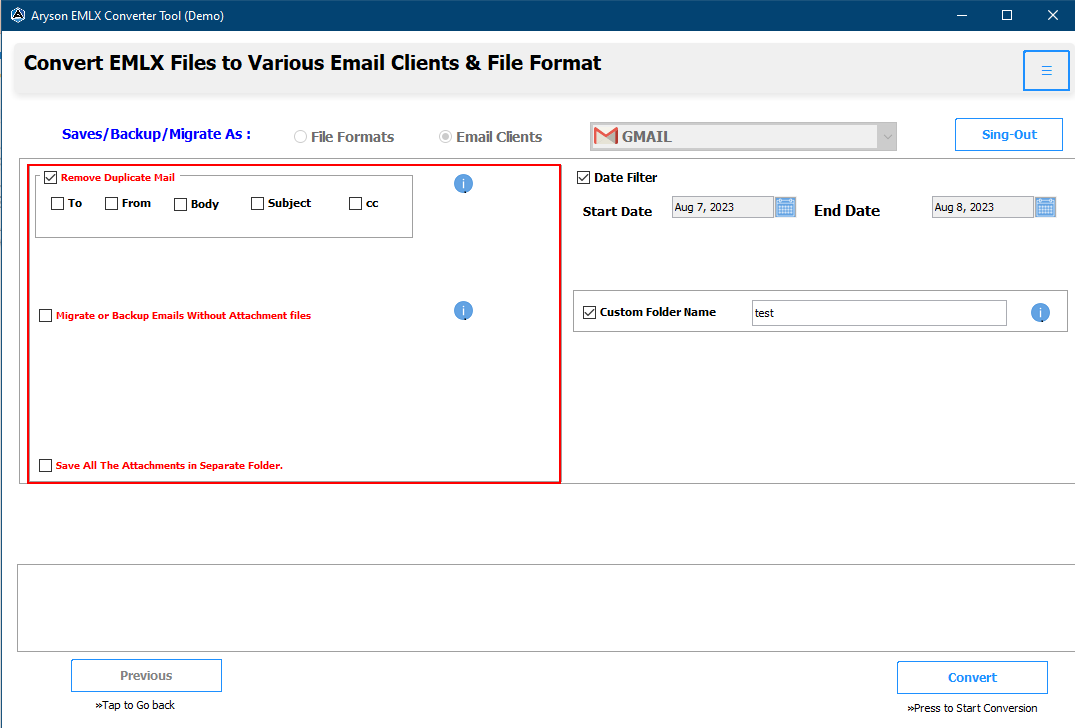
Step 9: Choose the filters that you need:
- Remove Duplicate Mail:- by choosing this option you can delete identical emails based on To, From, Body, and Subject.
- Migrate or Backup Emails Without Attachment Files:- by choosing this feature users can save their email without attachments.
- Save All the Attachments in a Separate Folder:- by choosing this filter you can save all your attachment files in a separate folder.
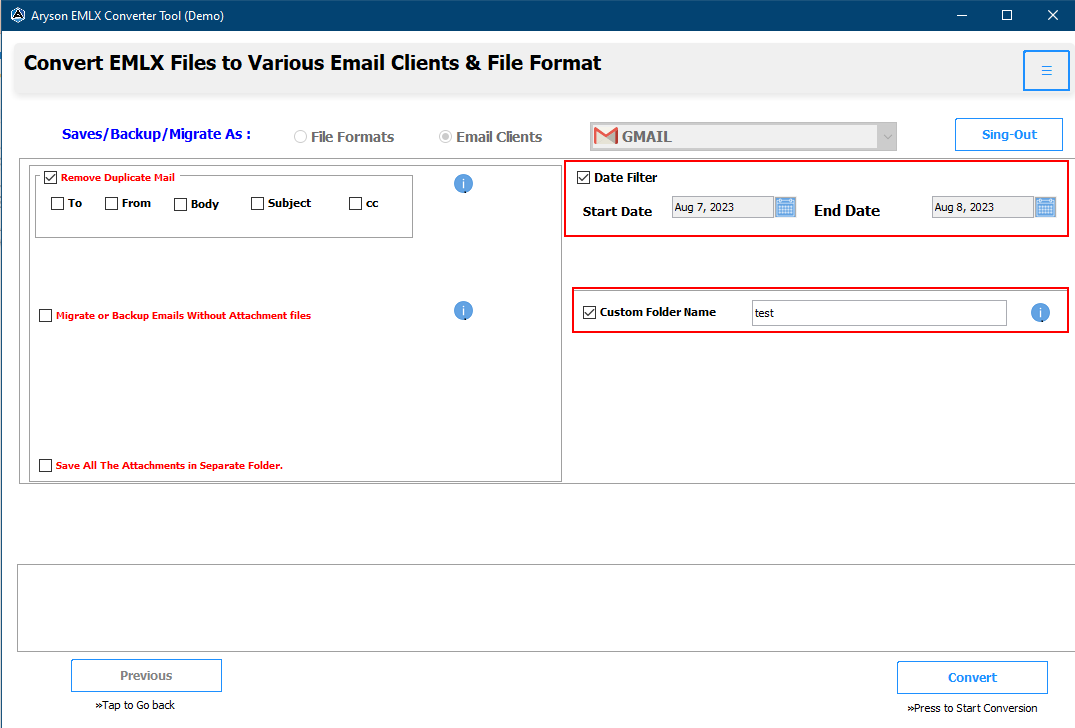
Step 10: Go for these options:
- Date Filter:- To separate the particular mailbox emails based on a date range.
- Custom Folder Name:- This feature allows you to save your data into the desired folder name.
Step 11: Click the Convert button to start the data conversion process.
Step 12: In some minutes, your converted file is saved at your pre-defined location, and a process report is generated. You can save this process report for future use.

Activation Guide
Activate the Software
Installation & Uninstallation
Installation & Uninstallation of Software
User Interface
User Interface
After downloading the Aryson EMLX Converter tool, you will find the welcome screen as played below.