How to Download IBM Notes to Your System?
Step 1: Acquire IBM ID by creating an account on IBM.
Step 2: Sign in using your IBM ID to initiate the download process.
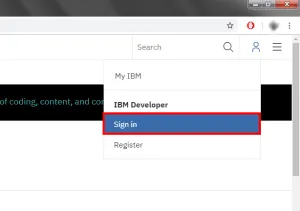
Step 3: Fill in the IBM ID and password fields to sign in to IBM.
Step 4: Open the following link in your browser:
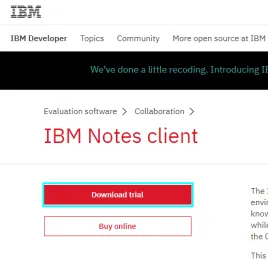
Step 5: Click on the Download trial button to access the download page.
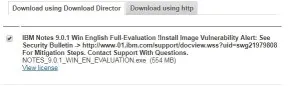
Step 6: Select Download using Direct Download and choose the appropriate Lotus Notes version for the Windows platform. Scroll down, agree to the license terms, and click I confirm to proceed.
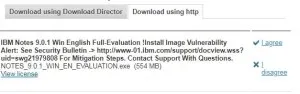
Step 7: Choose Download Using HTTP Option and select the desired option. Then, click I Agree
Step 8: Specify the destination folder to save the .exe file of IBM Lotus Notes and begin the download.
Step 9: Click Finish once the download is complete.
Now that Lotus Notes is downloaded to your local storage, proceed with the installation process.
How to Install IBM Lotus Notes on Your System?
Here are the steps to install Lotus Notes on Windows:
Step 1: Create a folder at your desired location to save the Lotus Notes installation files.
Step 2: Run the Lotus Notes setup (.exe file).
Step 3: Choose an option from the dialog box, specify the file saving location for IBM Lotus Notes, and wait for the files to be extracted.
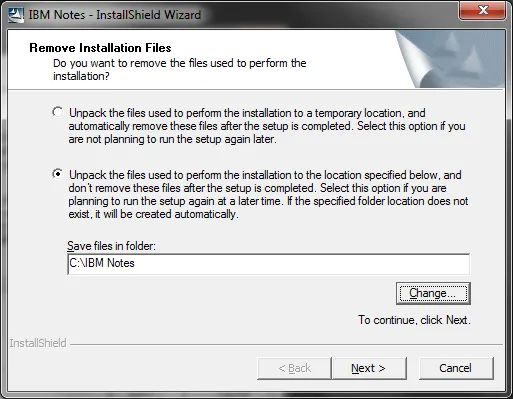
Step 4: Click Next to begin the installation preparation and proceed through the Install wizard by clicking Next.
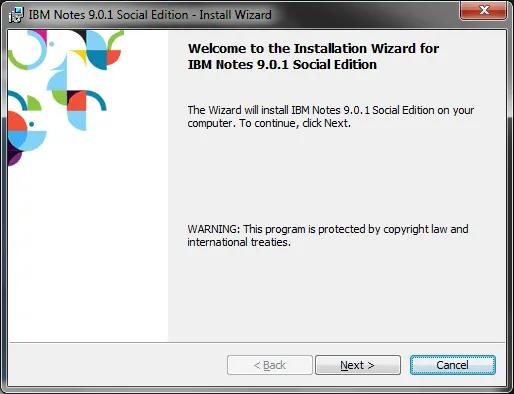
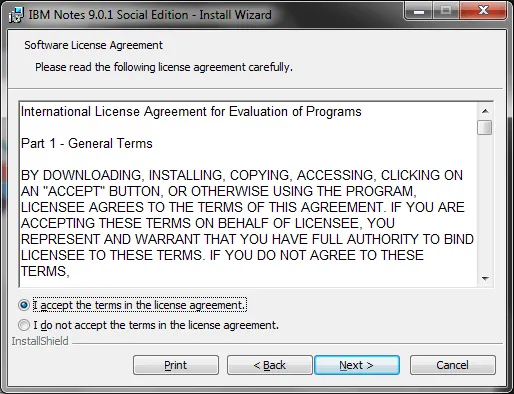
Step 5: Read the license agreement, select I accept the terms in the license agreement, and click Next.
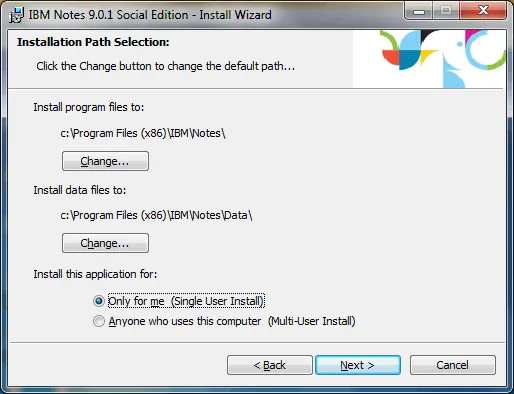
Step 6: Choose an option from the next dialog box and click Next.
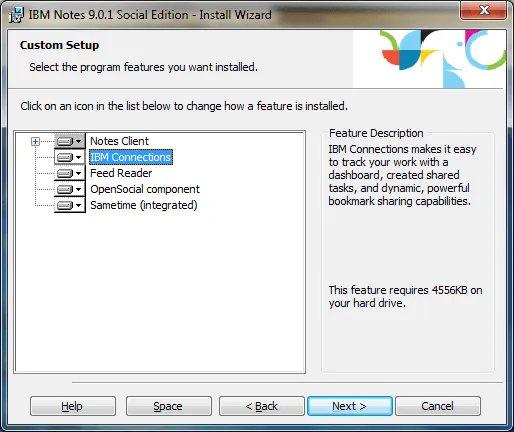
Step 7: In the Custom Setup Window, ensure the IBM connection is active and click Next
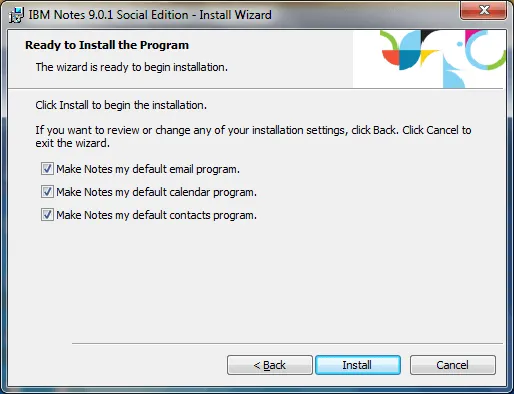
Step 8: Check the checkboxes in the next dialog window as per your requirements and click Install.
Step 9: Wait for the installation to complete and click Finish.
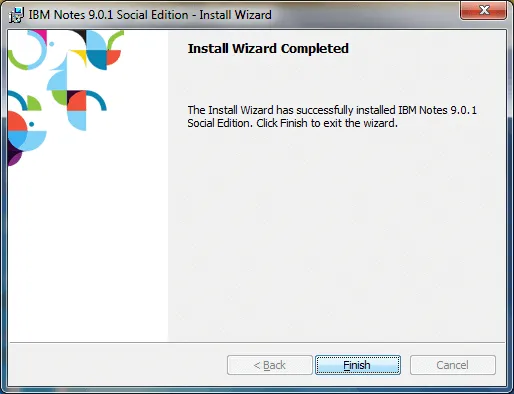
Now that Lotus Notes is installed on your local machine, proceed to configure it with your email account.
Steps to Configure IBM Lotus Notes Email Client
Follow these steps to configure IBM Lotus Notes:
Step 1: Launch the Lotus Notes Desktop application.
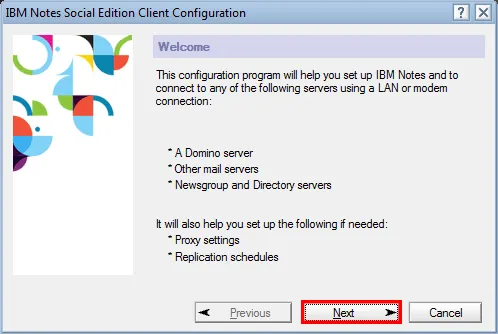
Step 2: In the Lotus Notes Welcome Window, click Next.
Step 3: Enter your name and Domino server name in the User Information Window and click Next.
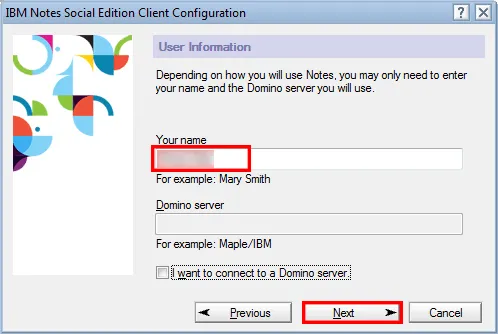
Step 4: In the Additional Services Window, select one of the options and click Next to continue the configuration process.
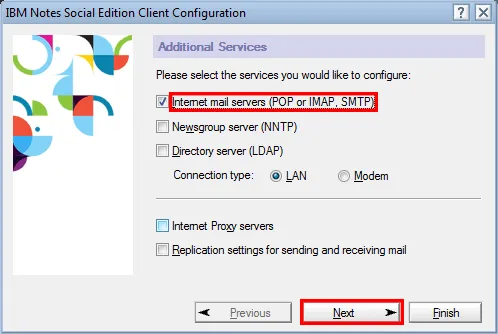
Step 5: In the Setup Internet Mail Window, choose POP or IMAP based on your requirement, provide the Incoming mail server name, and click Next.
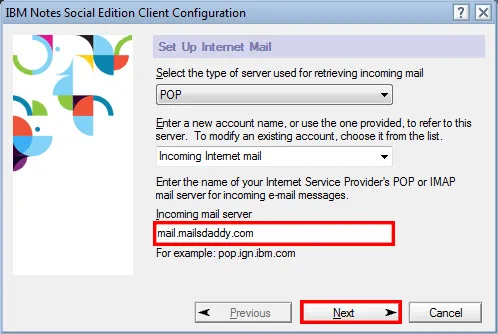
Step 6: Provide the Account Name and Password in the Setup Internet Mail Window, then click Next.
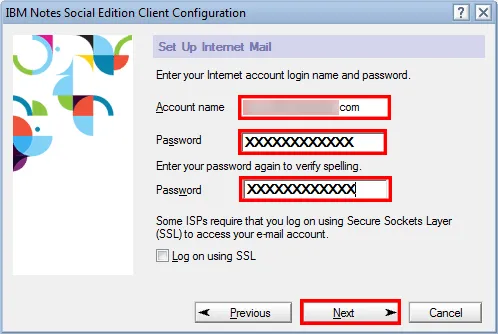
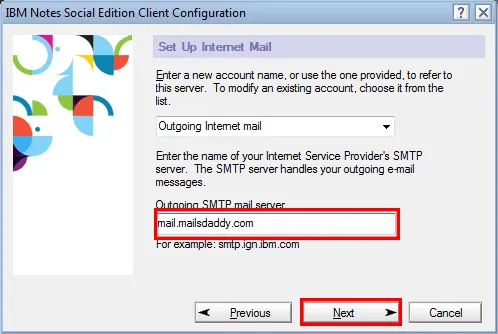
Step 7: Enter the Outgoing SMTP mail Server name and click Next.
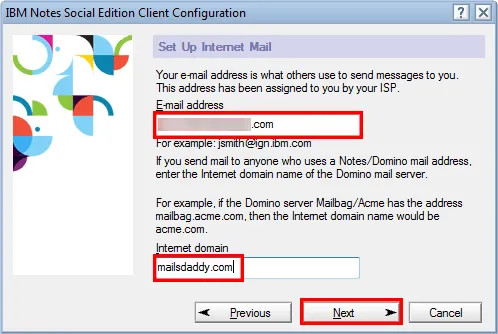
Step 8: Fill in the Email address and Internet Domain name, then click Next.
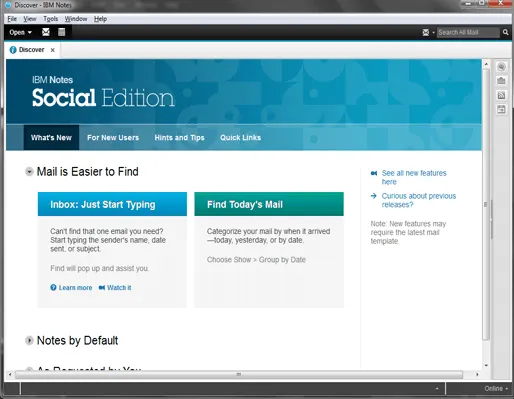
Step 9: Open the Lotus Notes email client on your local machine.
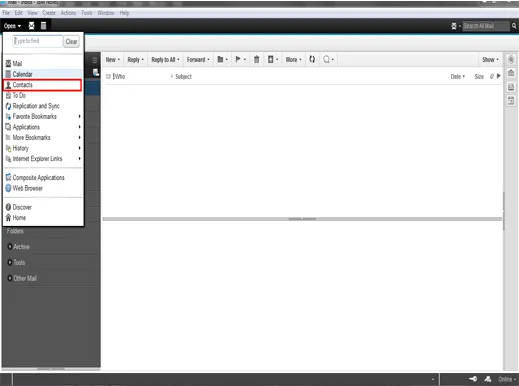
Step 10: Click Open and select Contacts.
Step 11: Choose the Advanced option.
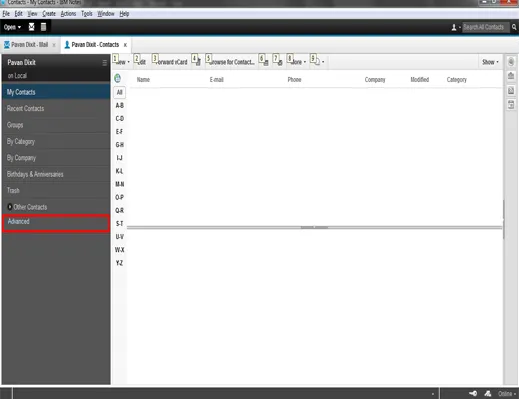
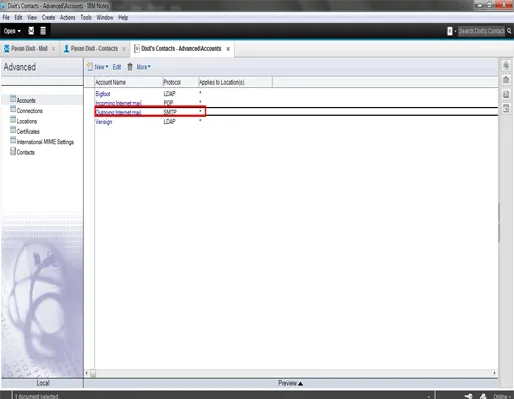
Step 12: Double-click Outgoing Internet mail.
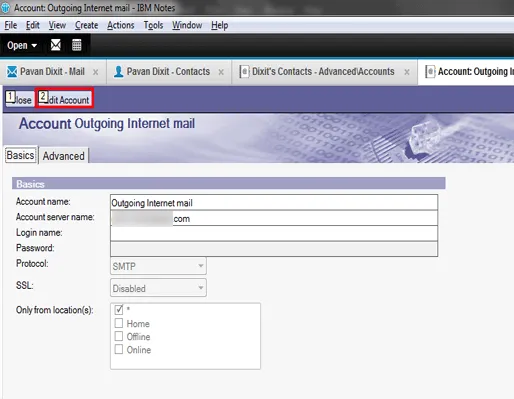
Step 13: Click Edit Account.
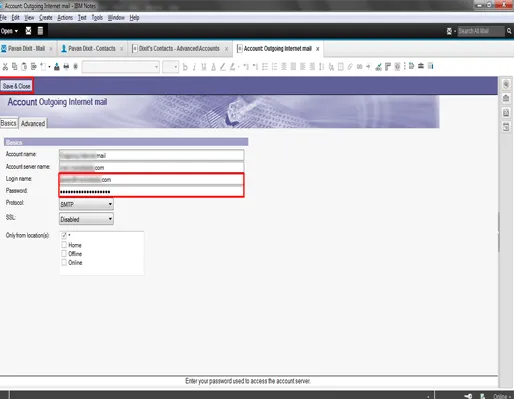
Step 14: Enter the Login Name and Password, then click Save and Close.
Step 15: Click Open and select Mail to access all NSF emails in this section.
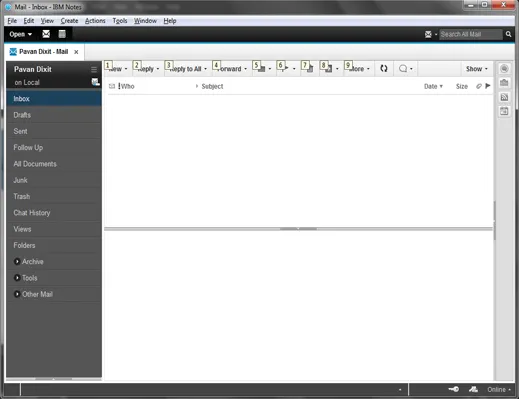
With Lotus Notes successfully downloaded, installed, and configured on the local machine, it's now ready to be used with your email account.
Once the configuration is complete, you'll be able to store your emails. Additionally, maintain an address book, create calendar events, and utilize our products to convert NSF to PST and perform Lotus Notes to Office 365 migration.